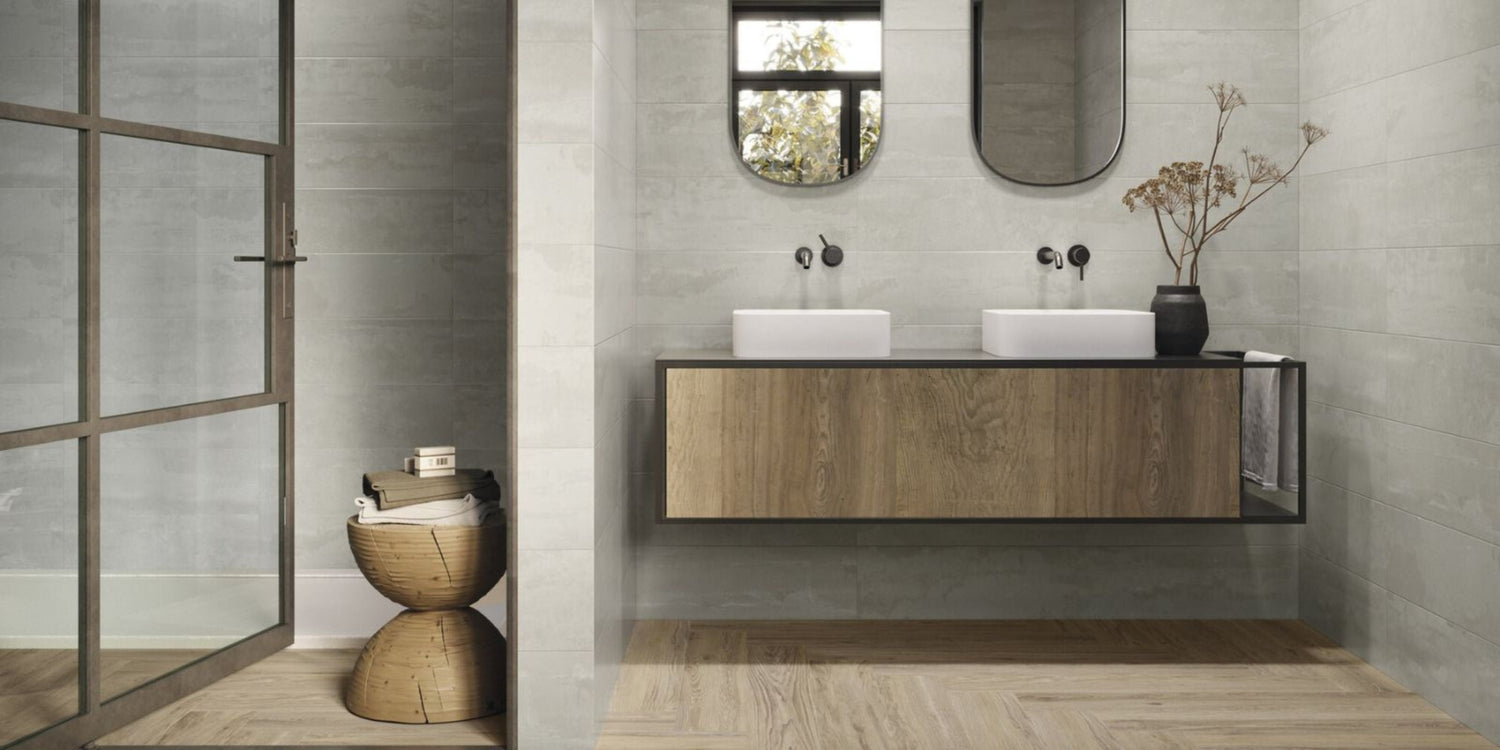
If you’ve recently purchased the perfect floor tiles for your bathroom floor, we can imagine you’re excited to get them down ASAP. Don’t sit around waiting for someone to come and do it for you – get tiling yourself! With a little bit of research and a lot of preparation, it’s a simple enough job to carry out. We also have a guide on how to tile a bathroom wall with large tiles!
If you have the correct materials on hand and a trusty DIY guide to follow, tiling your own floor can actually be a fun and cost effective home improvement project, even when making tiled shower rooms.
Luckily for you, we have just the guide you need…
Step 1: Collect the Right Tools for the Job
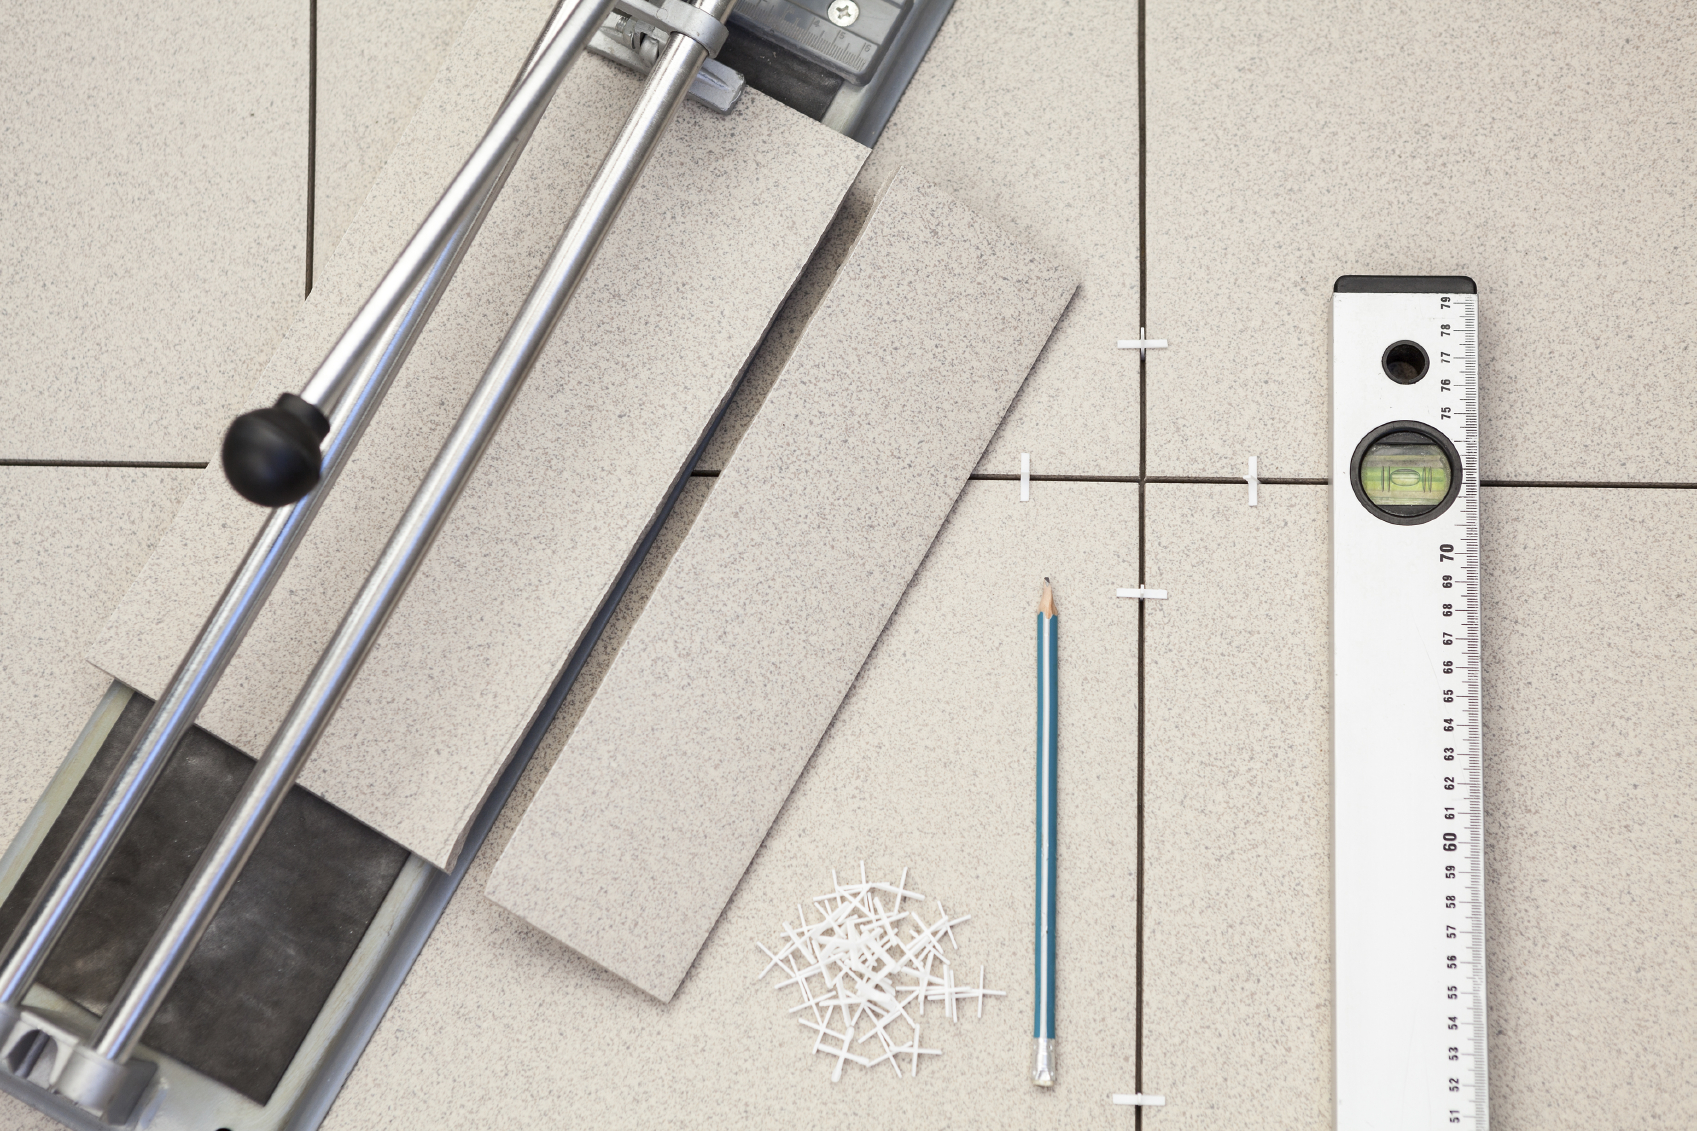
Before actually starting any tiling, you should make sure that you have the correct tools for the job. By having them all in front of you, you’ll save time and effort searching for them later on. As well as your chosen tiles, grout and mortar, you’ll need the following items.
- Measuring Tape
- Tile Saw
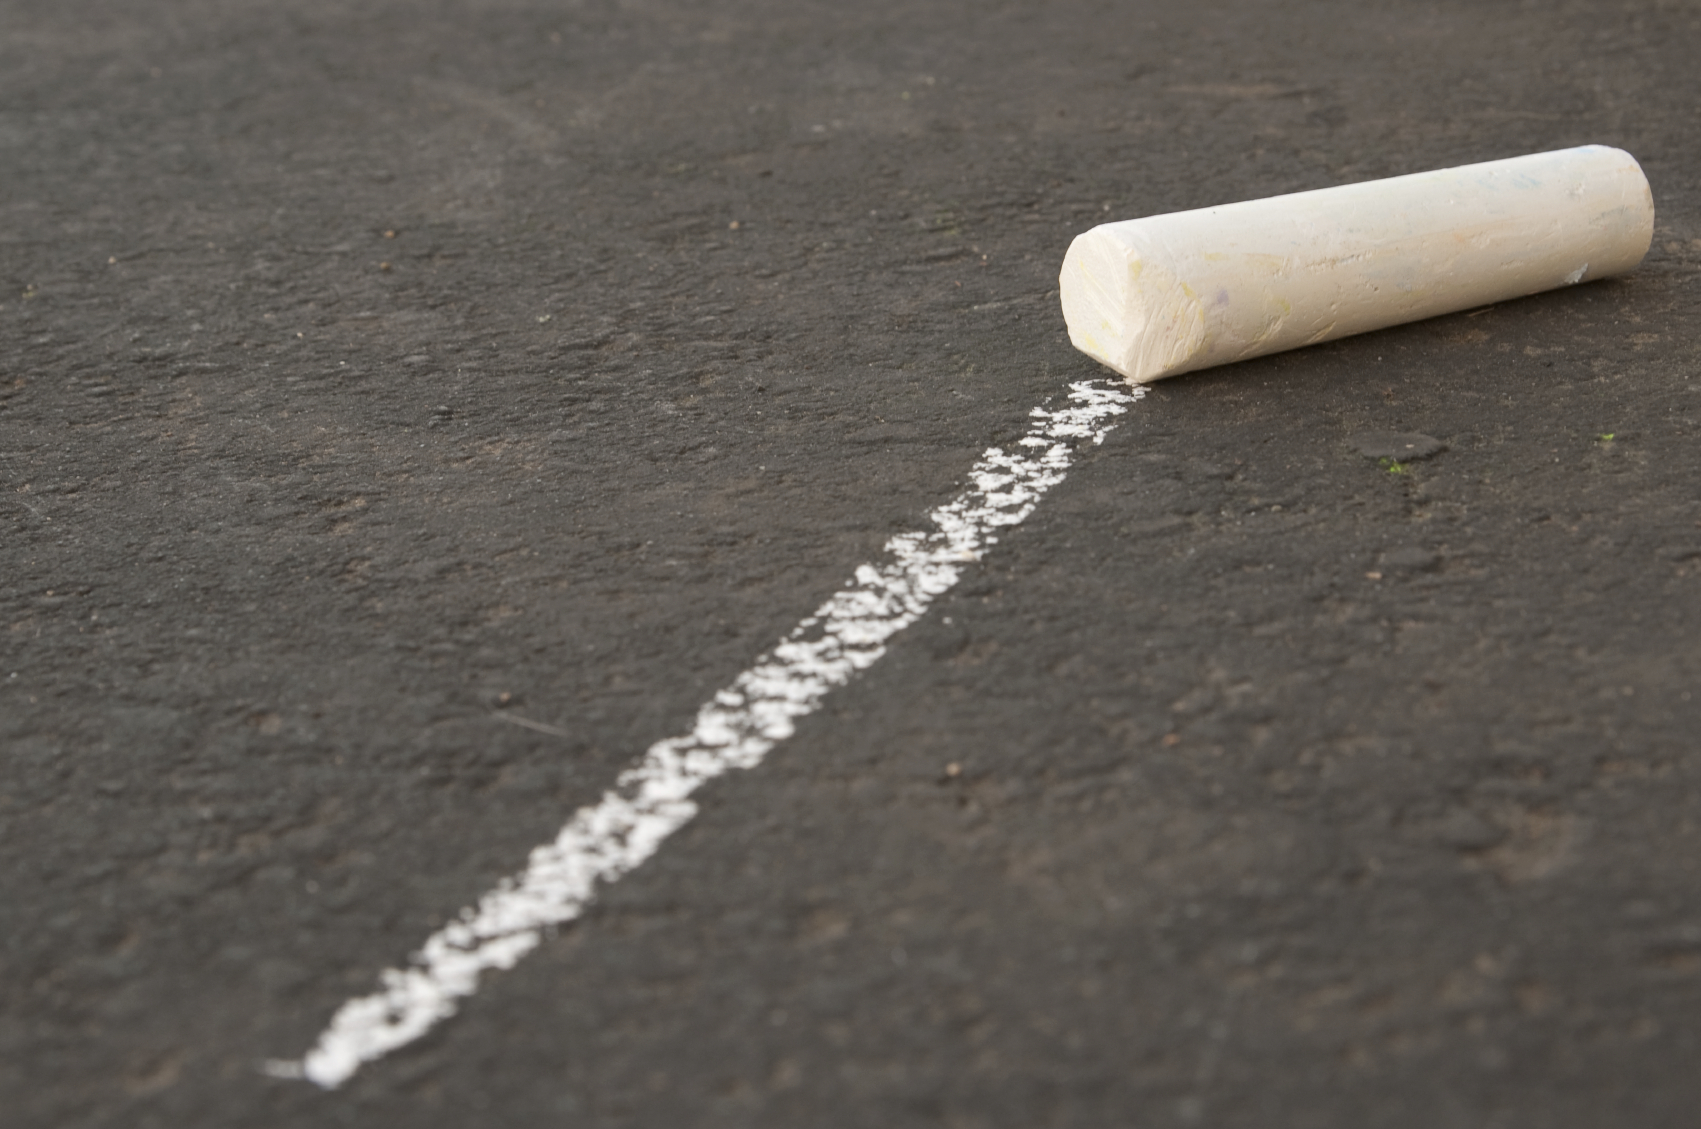
- Chalk
- Grout
- Tile spacers
- Adhesive
Step 2: Prepare the Floor
You need to make sure that the floor is properly prepared for the tiles – a tiling job is only as good as the surface it’s being applied on. There are several ways you can do this. Firstly, remove any old tiles or flooring that is not needed. You also need to sweep away any debris that may be on your floor. Secondly, it’s essential that you check that your existing floor is flat and solid. If it isn’t, your tiles are not going to go down smoothly.
Step 3: Determine the Tile Position
Once your floor is clean and prepped, you need to think about where the tiles are going to be placed. This will stop uneven spacing or poor alignment of your tiles. You can do this by finding the middle point of the two longest walls in the room using a measuring tape – draw a chalk line across the floor that will join them together. You should then repeat this with the shorter of the walls so that they cross over.
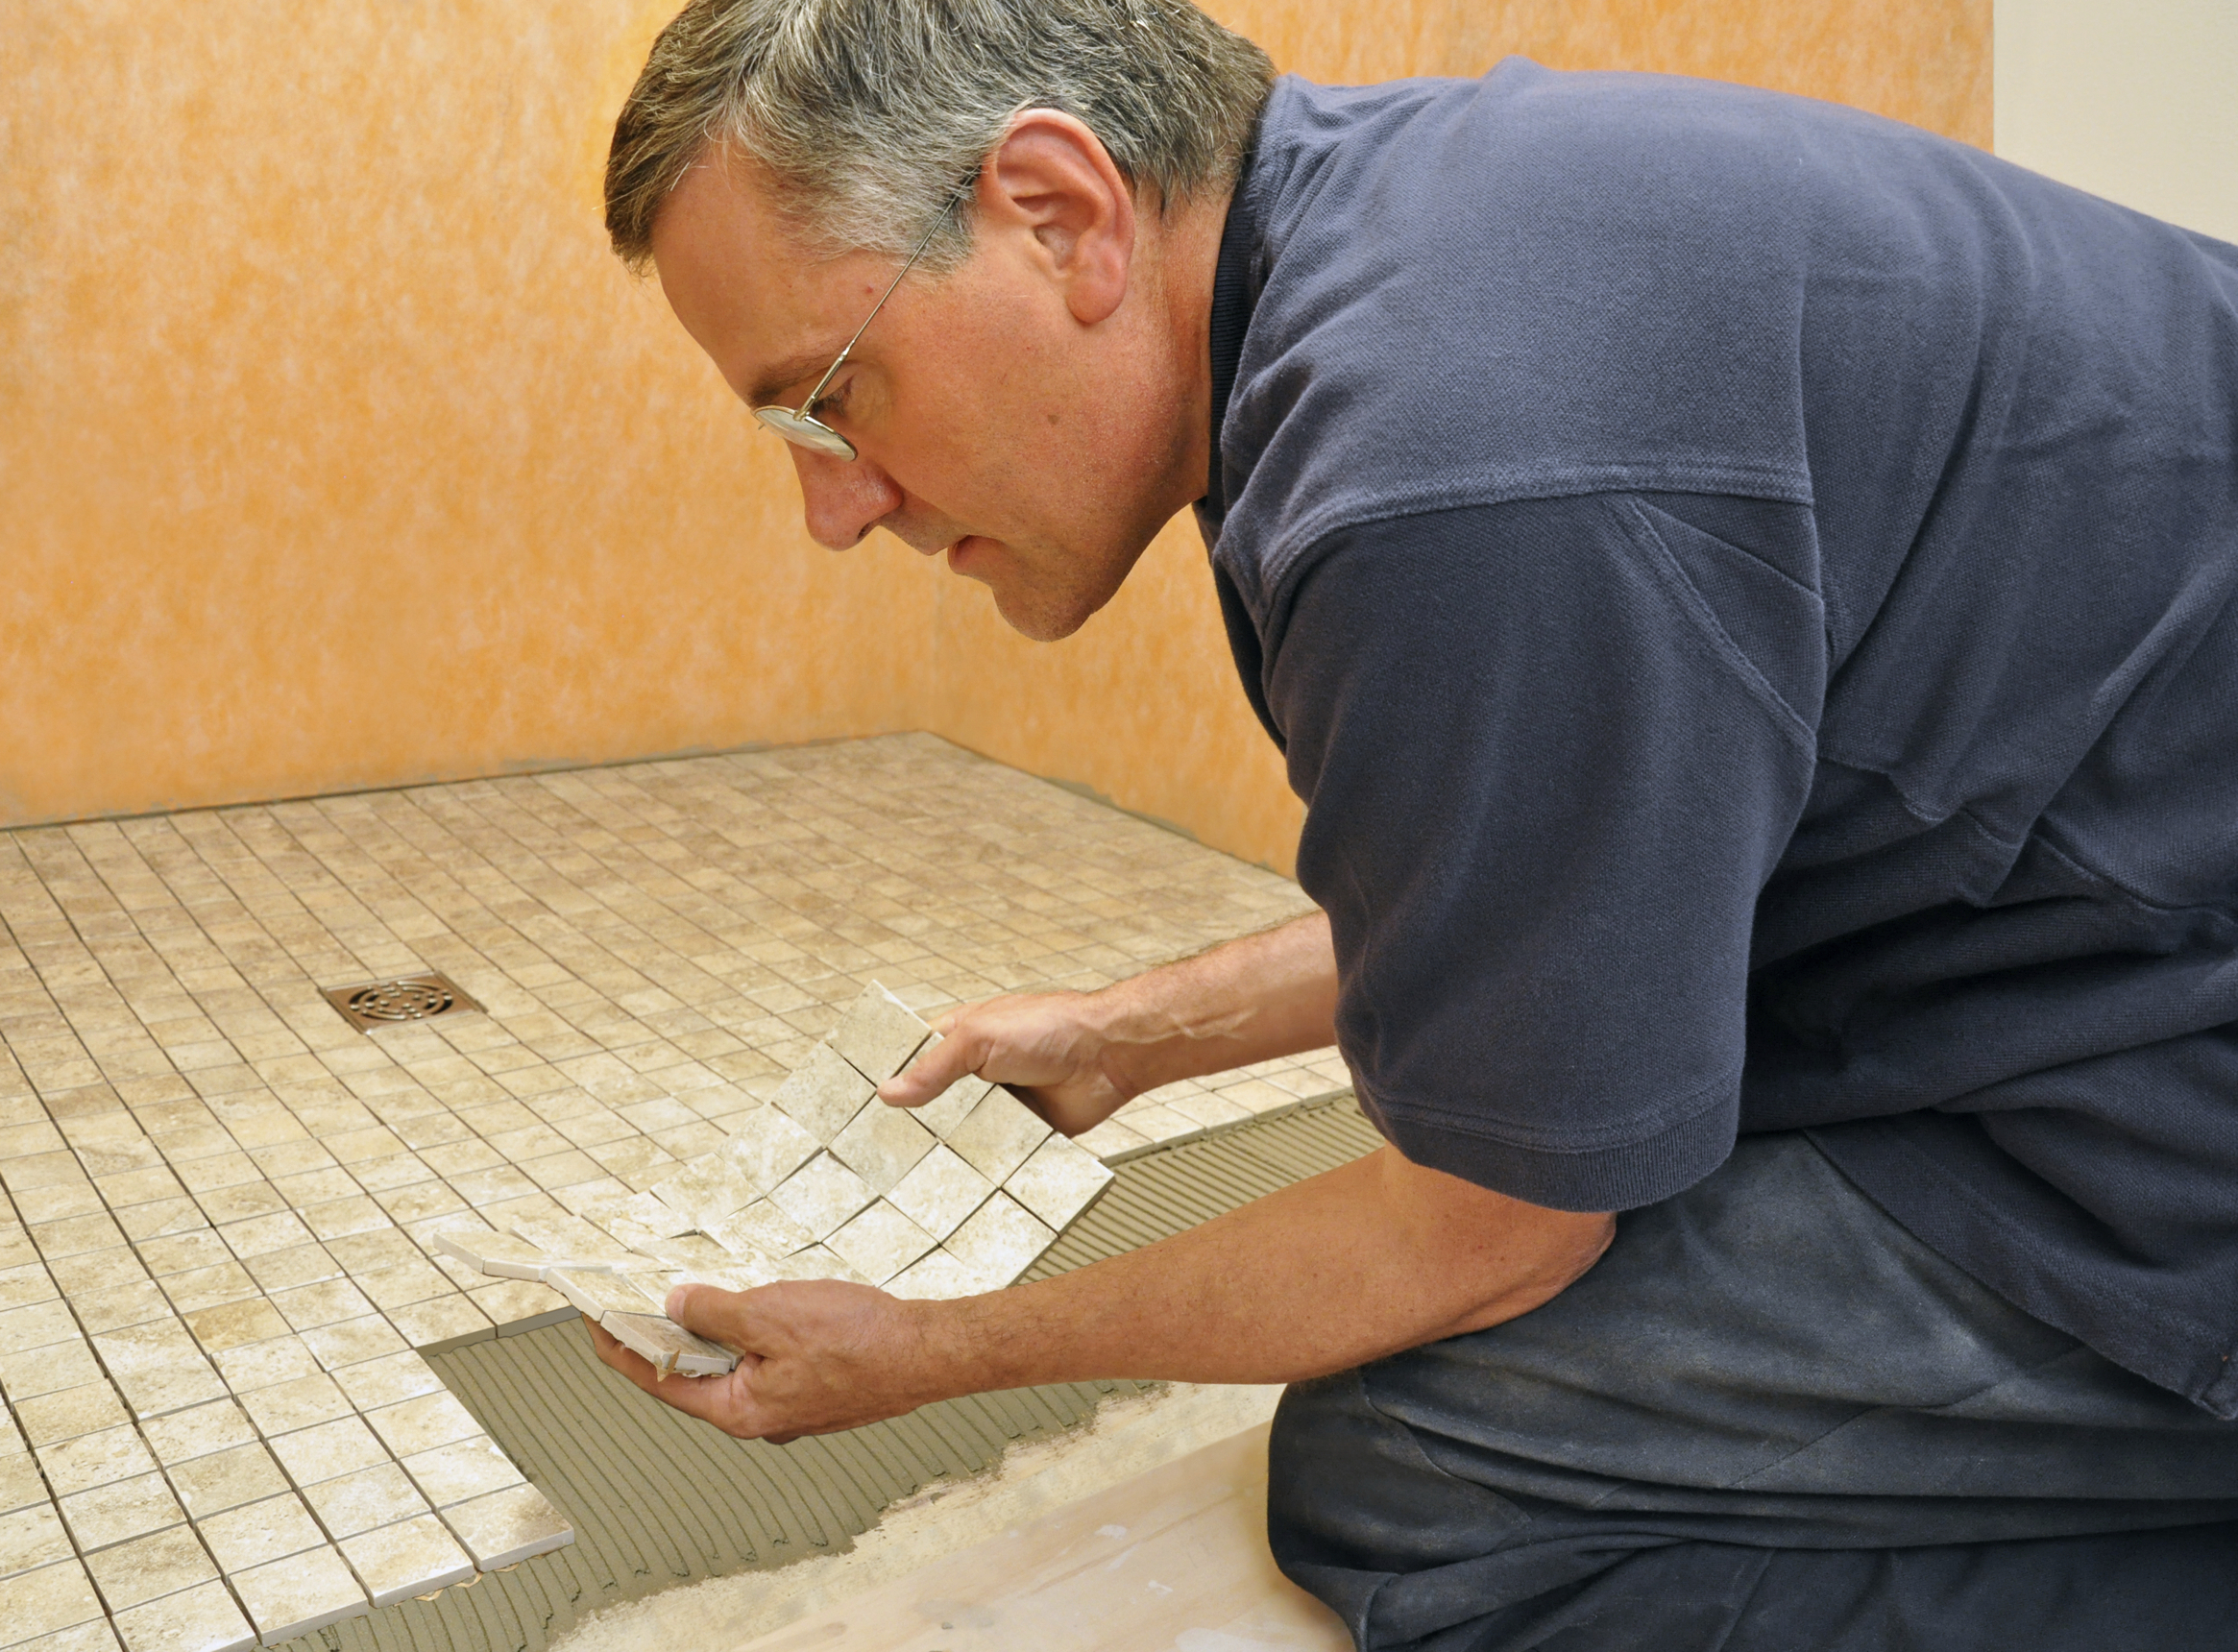
Step 4: Position Tiles
You should start positioning your tiles by laying out a single horizontal and vertical row of tiles across your floor. This should be done along the chalked lines that you just marked out. You should start tiling away from the doorway to begin with, so that you don’t step on them before they have dried. Carefully apply the tiles to the areas in which you have applied adhesive. You should try use as many whole tiles as possible – use tile spacers to make sure that they are evenly spaced.
Step 5: Cutting Tiles
When fitting tiles around certain walls, or around baths, showers and toilets, you’ll have to cut your tiles so that they fit in properly. You can do this by carefully using a tile saw. This is easy to do. Simply mark on the tile where it will be cut beforehand.
Step 6: Wait to Apply Grout
After your tiles have had the evening to dry, you can then apply the grout. This is applied to the spaces between your tiles – it should be pushed deep inside the joints of the tiles. Once this is done, you should remove any excess product and wipe down with a clean sponge
For the best quality floor tiles in Preston, please contact us here at Roccia. We are proud to have the largest collection of modern and contemporary tiles in the UK, so we can guarantee that there is something to suit every taste and budget, as well as all the latest bathroom tile trends from 2022 and beyond.
Give us a call on 01772 382616 and we will be happy to help you out. Feel free to add us on Facebook and Twitter too!