Large format tiles, colloquially recognised as LFT in the industry, are stunning tiles that can be tricky to lay due to their size; LFT is any tile with a side equal to or longer than 15”. Although well and truly in fashion for being sleek and low maintenance, LFT requires more preparation and care when installing than regular sized tiles to achieve optimal results.
LFT might be more difficult to fit, but you’ll ultimately appreciate them for their elegance and time-saving benefits. Cleaning grout is one of the most wearisome parts of upkeep on your tiles, but large format offsets this, as larger tiles mean less grout per square metre. This article will help you clear the hurdle of laying these non-standard tiles by explaining the planning process, the equipment you will need to use, and finally the method of installation.
Although any tile with a side larger than 15” is technically LFT, dealing with supersized tiles requires far more caution. Much of the laying process is actually the same but you might require extra help in lifting the tiles, and also some additional tools like the suction cups used in this video.
V.I.P. – Very Important Planning
When attempting to tile any floor or wall, it is important to plan the layout. Do your research beforehand and figure out what’s possible and what isn’t. If you know that your floor is subject to significant undulations, then you might have to forgo LFT or at least look into floor levelling technology before you continue with your project. If you have flawed floors, then leaving time to consider the many different methods for correcting those unruly dips and bumps is important. Leave plenty of time for planning before you set the date for your tile installation.
Mock-Ups
To begin with, you’ll want to perform a mock-up of the layout to get a feel for how the tiling will look once installed. Be aware that a brick style layout will rarely be an option for LFT. The only time when a brick style layout will work is when you have an exceptionally flat floor with minimum variations.
Pursuing a brick style layout without meeting these requirements can cause unnecessary differences in elevation between edges of adjacent tiles, which is referred to as lippage. Although it may be unavoidable to an extent, you should seek to reduce lippage as much as possible throughout your tile laying. If your heart is set on a brick lay for your LFT, consider going for tiles set at 33% against one another, rather than at 50%.
As part of your mock-up, you should also consider grout lines. Grout will take up additional space between tiles that must be accounted for. You can make life easier for future cleaning by planning thin grout lines.
Avoid Thin Cuts
As part of your planning, you will want to avoid creating a section lined by thin cuts; these are slivers of tile which are used to fill the remaining gaps where full tiles cannot be placed. This generally occurs near walls and entrances.
You want to avoid having thin cuts, because they are difficult to cut properly, and you may end up wasting tiles in order to make them. Aside from the difficulty, thin cuts are also less aesthetically pleasing. You should aim for the tiles lining the edges of your room to be at least 25% of the original tile, if not 50%.
The Final Tile
One final tip to keep in mind is that despite your planning, the process of laying the tiles will undoubtedly cause some variation from your initial calculations. Your final row of tiles will likely be against a wall or entrance, meaning that there isn’t much room left for error. You should carry out some final measurements for this remaining space before you cut your last tiles. This will ensure that you don’t end up with a useless slab cut to fit out-of-date calculations. This video should help.
Equipment
The next step is making sure you have all the right equipment to lay your tiles. You don’t want to find that you’ve misplaced your trowel when the cement is setting. Be organised, have your equipment ready and make sure that it’s the right kind of equipment.
- Measuring tape (For standard measuring)
- Laser line (Not essential, but can be useful)
- Square Measure (For lining tiles up against wall edges)
- Trowel (For laying the mortar – the bigger the tile, the bigger the notches need to be on your trowel)
- Wet saw (for cutting tiles in straight lines with ease)
- Continuous rim grinder (for cutting circles or lines in the centre of tiles)
- Eye protection (For use when cutting tiles. If you don’t wear eye protection when cutting tiles, you run the risk of getting tile chips in your eyes.)
- Cement mix (Choose medium bed mortar specifically made for LFT – choosing the wrong cement will increase the possibility of your tiles cracking.)
- Cement mixer (to churn up the cement, this can be a drum or a paddle mixer.)
- Clips / tile levelling systems (You need a flat floor to use these, and they can cause hollow spots if misused by beginners. Tile levelling systems won’t fix pre-existing issues with the original floor, but they will create a flatter tile lay when used by a professional.)
Installing Your Large Format Tiles
You’ve planned your layout and sorted your equipment, so now it’s time to fit the tiles.
- You will want to start with making your cement. To make cement, you’ll need to combine the mix you’ve brought beforehand with water. The temperature of the water will affect the rate at which the cement begins to stiffen. Mix cement with cold water when possible to give you as long as possible to lay the tile before it sets. If you’re worried about your cement setting too quickly, make the cement in half amounts so that none goes to waste.
- Wait 10 minutes after adding the water and mixing the cement. It needs time to settle. If you add any more water in during this time, or after the cement has set, you will ruin the mix.
- Slap the cement mortar onto your floor and get ready to lay the tiles. Your tiles need at least 80% coverage to be secure, so don’t worry about using lots of mortar quickly. LFT specifically needs a lot of mortar.
- Get out your large notched trowel and smooth out the mortar. Spread it in whichever manner feels most natural to you, but be aware that the grooves all need to be in straight lines before you set your tile to the cement. This will reduce the possibility of your tile cracking in the future.
- Pick up one large format tile. Before you back-butter or lay the tile, check that there are no imperfections, such as packaging stuck to the corners.
- Back-buttering your tiles is a must for LFT. Back-buttering means to cover the back of the tile in cement before you set it against the mortar you have spread on the floor.
- Lay the tile into the mortar. Push it against the previous row and pull it back to leave room for the grouting later.
- Have a damp cloth or sponge to hand. Clean mortar spatters off tile tops before the mortar sets. It will be much harder to clean the mortar off the tiles later if it dries to the tile.
- Apply the clips, if you’re using them.
- Carry on spreading the mortar, back-buttering and using your clips.
Extra Tips:
- You will need to cut some tiles to fit the last row, or to leave space for pipes. When cutting tiles, always use eye protection. When using a rim grinder, slow and steady is key.
- Get rid of extra cement so it doesn’t pop up around the joints.
- Always buy more tiles than you think you will need.
- You’ll need to grout your tiles too before your floor can be considered finished.
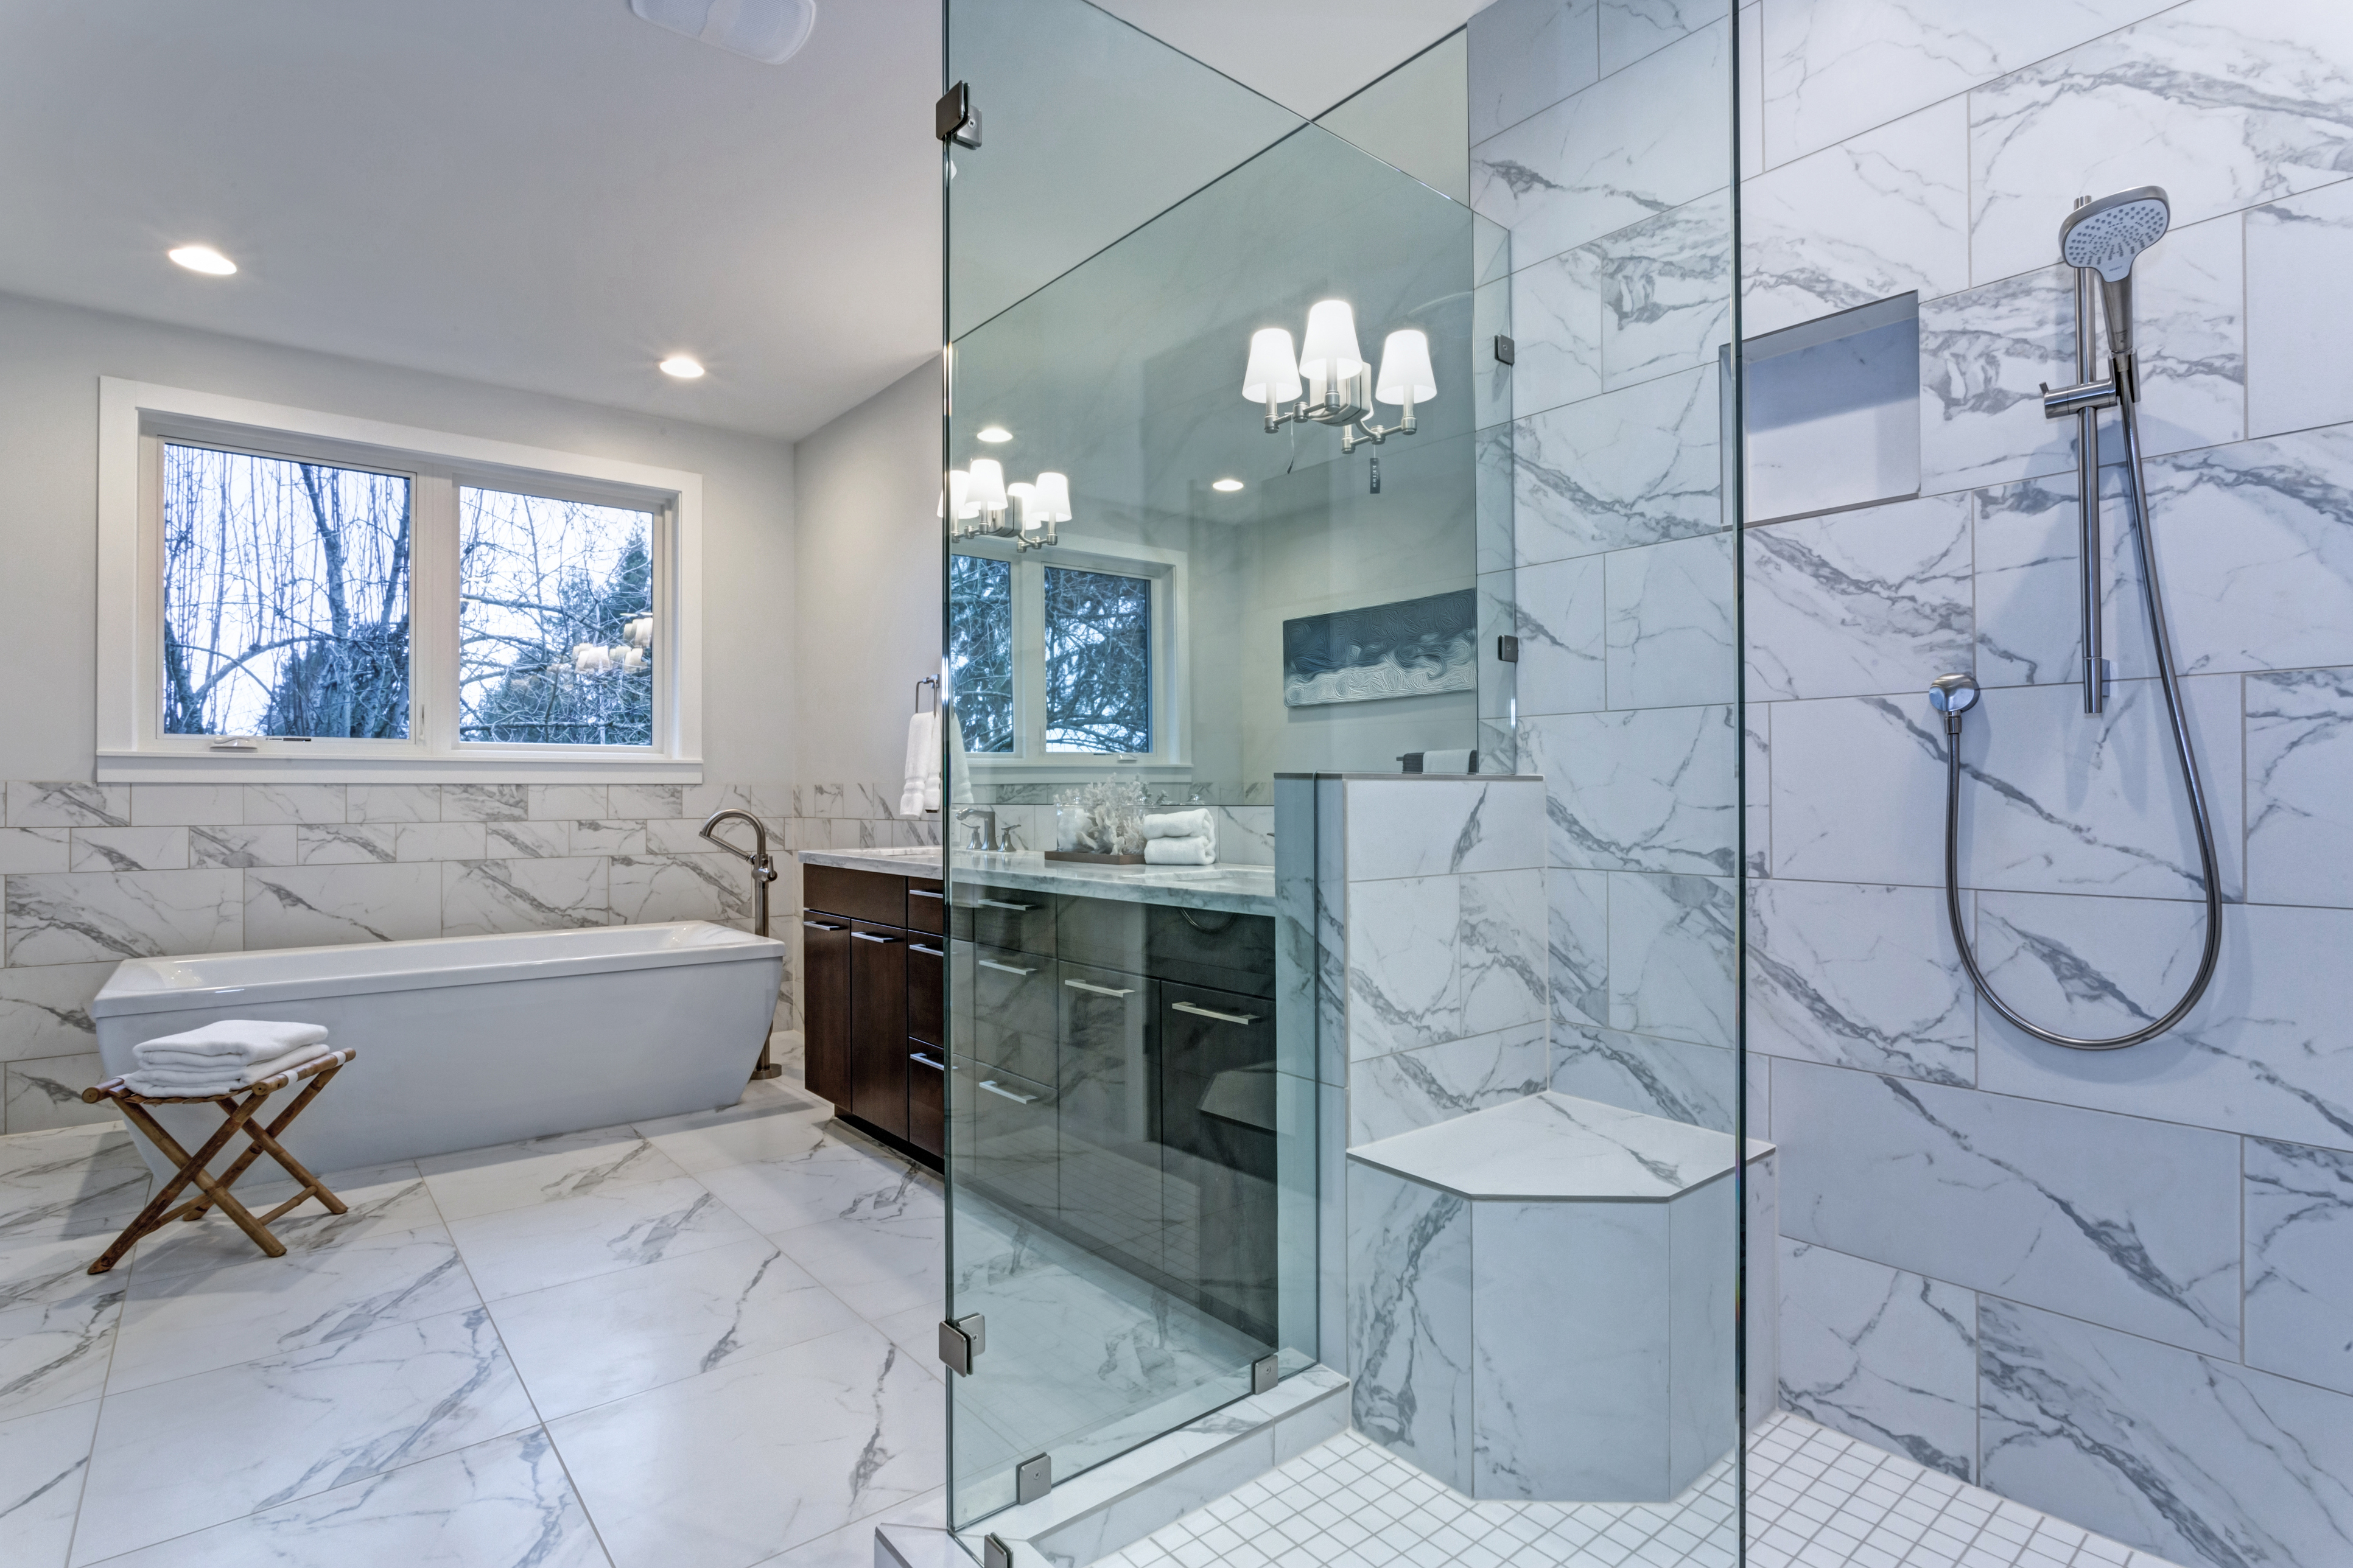
Large bathroom tiles may require more precautions.
Large format tiles and extra large tiles can be purchased in our store in mosaic, stone or marble patterns, in a variety of colours. Be sure to come and view our tiles in store; we have an experienced and friendly team on hand to assist you in making the right purchase for your home. If you have already purchased your large format tiles, why not consider tiling another room in your home?