How to Cut Bathroom Tiles: Techniques for a Professional Finish
Written by: Halima Bapu
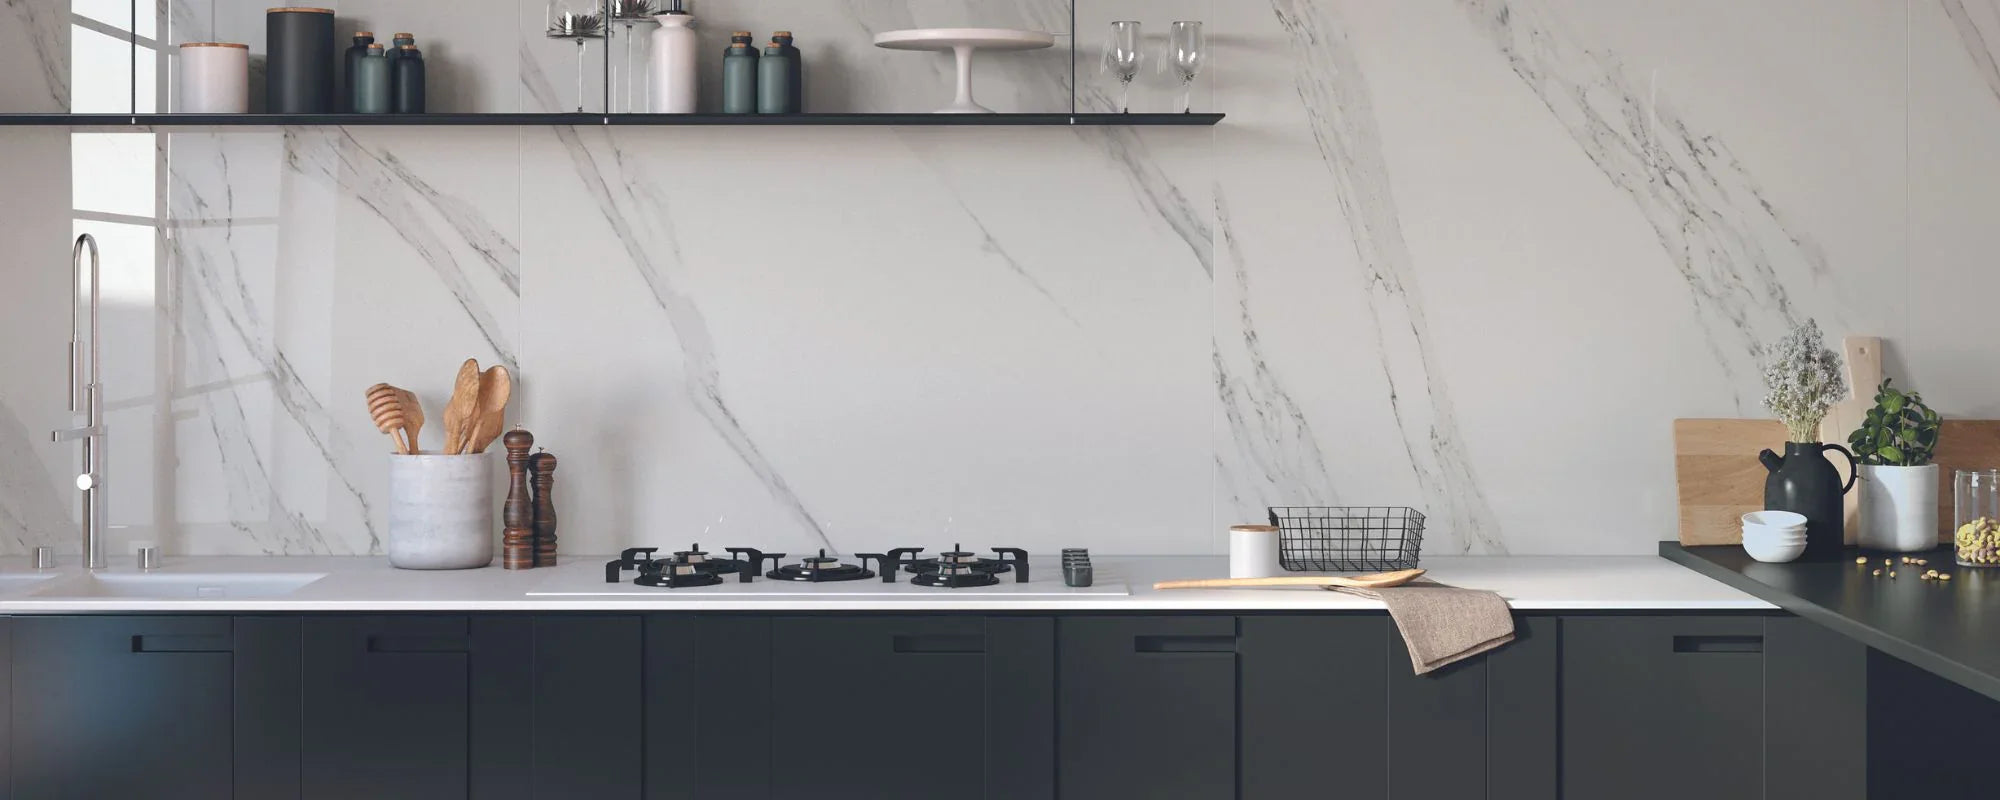
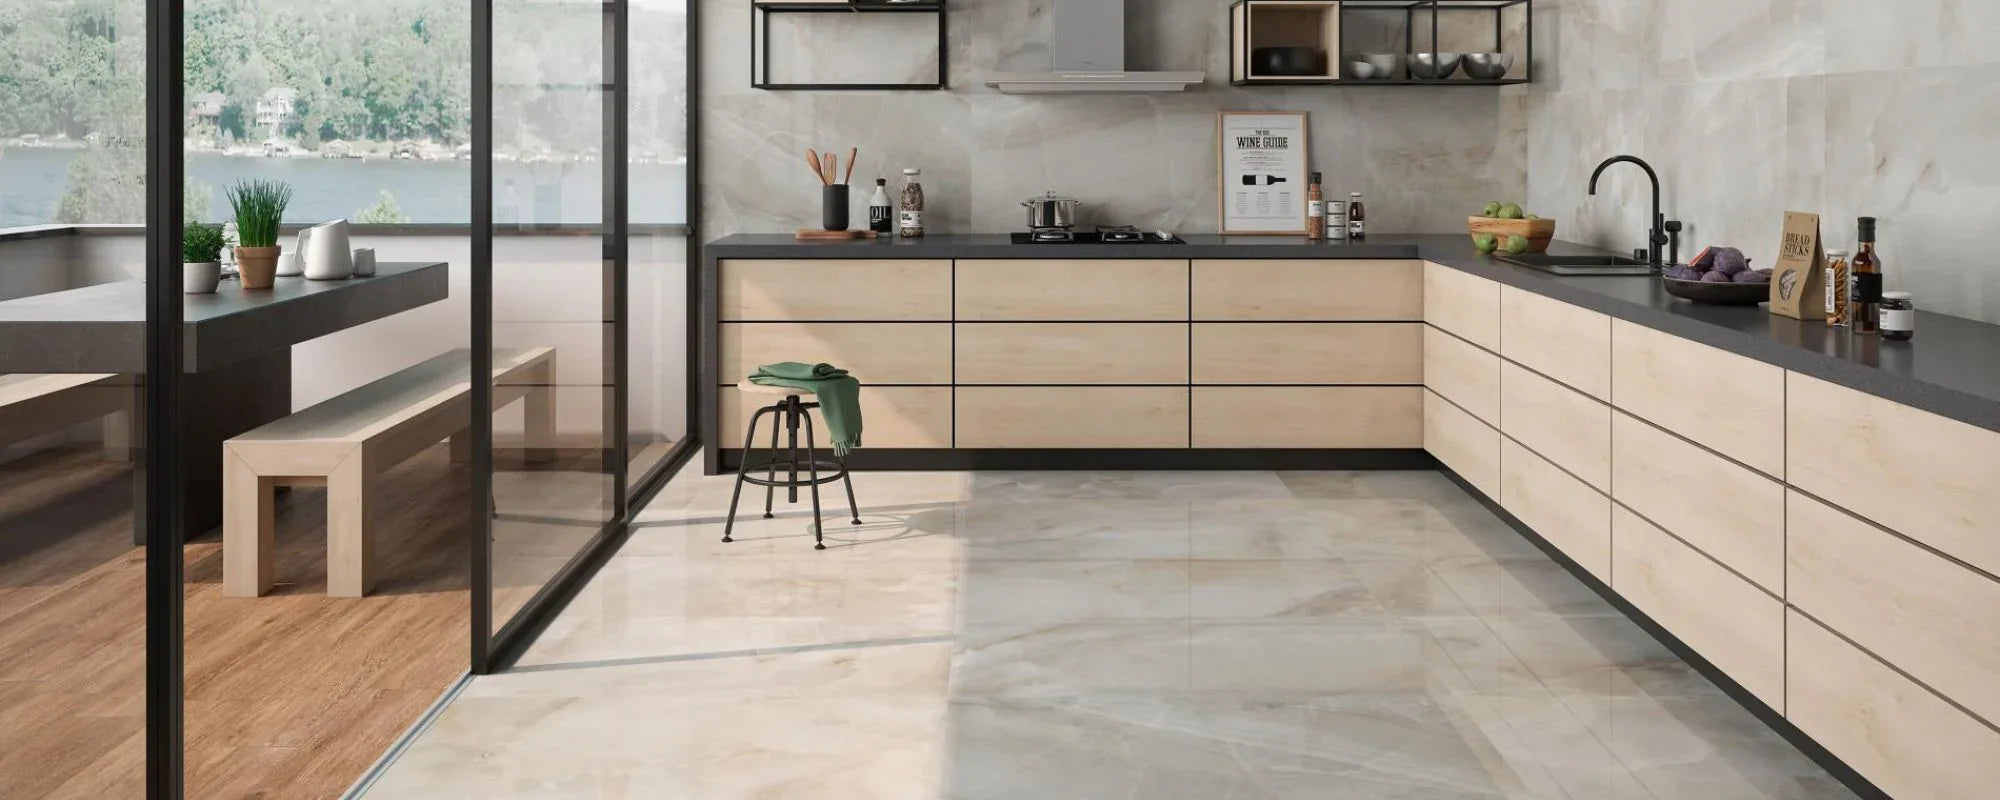
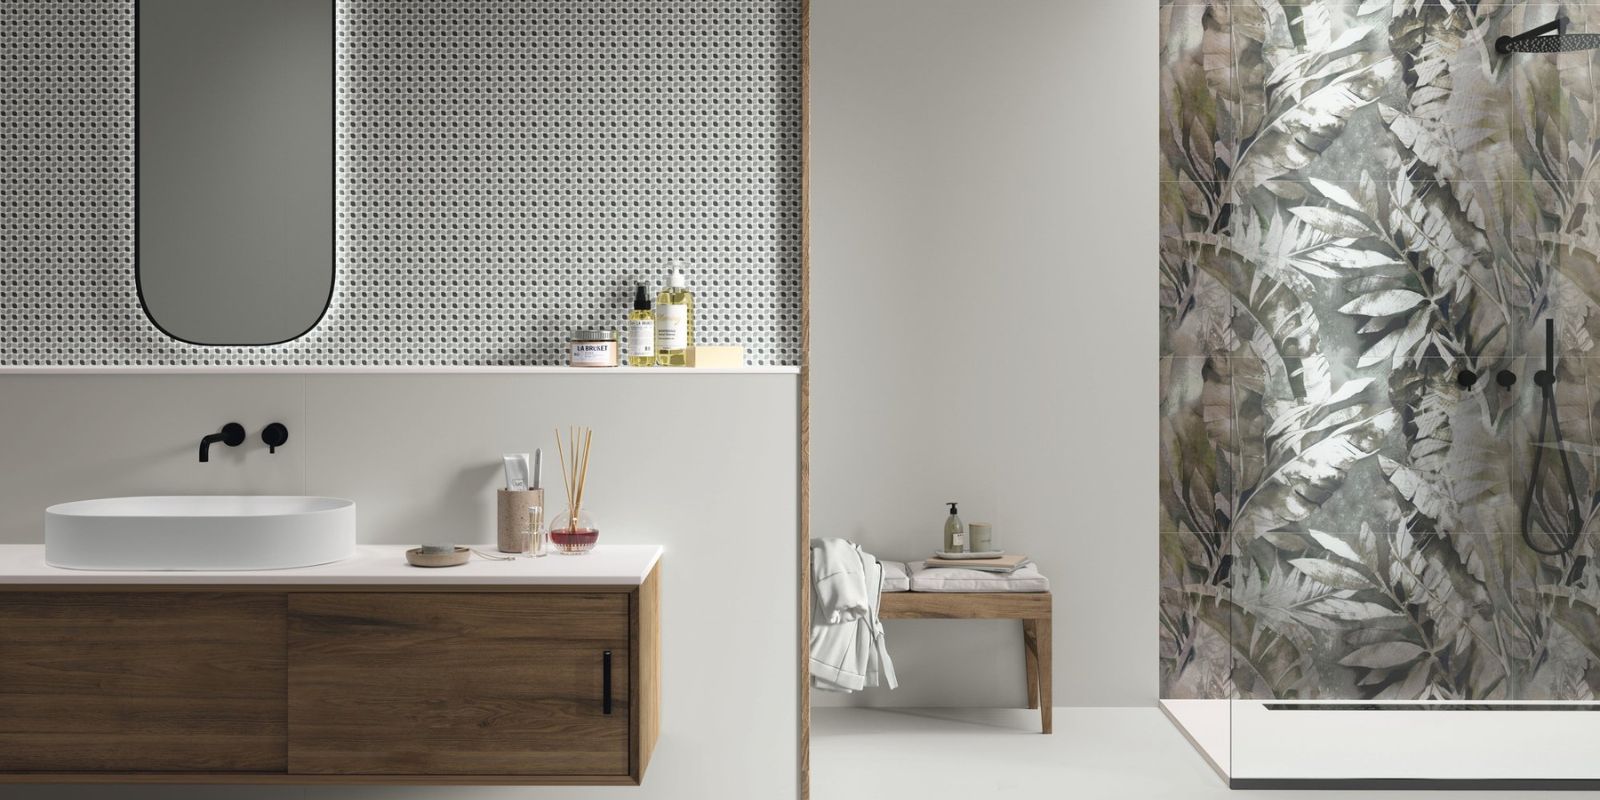
At Roccia, we know that bathroom tiles don’t just add style, they provide durability and practicality too. Tiles are commonly used on both floor and wall surfaces, and choosing the right floor tiles is essential for a lasting and attractive bathroom. But installing tiles properly depends on precision, especially when it comes to cutting them to fit neatly around fixtures and into awkward spaces.
In this guide, we’ll explain how to cut bathroom tiles and the best methods for cutting them, helping you achieve clean, professional-looking results whether you’re working with ceramic, porcelain, or stone-effect tiles. It’s important to choose the best option for cutting each type of tile to ensure a smooth finish. For example, you may need to cut ceramic tiles using manual scoring and breaking tools, while you might cut porcelain tiles with a wet saw and diamond blade for a chip-free edge. Proper tile cutting not only enhances the visual appeal of your bathroom but also ensures a secure fit that prevents water seepage and damage over time. Whether you’re a DIY enthusiast or a professional tiler, mastering these techniques will save you time, reduce waste, and give your bathroom a flawless finish that lasts for years.

Choosing the Right Tools
Selecting the right tools for tile cutting is crucial for achieving clean, precise results. The type of tile cutter you choose should match the material and thickness of your tiles, as well as the complexity of the cuts you need to make. For most ceramic tiles, a manual tile cutter is a reliable and cost-effective option, allowing you to score and snap straight lines with ease. If you’re working with tougher materials like porcelain tiles, an electric tile cutter or wet saw is often the best choice, as these machines can handle denser tiles and deliver smooth, accurate cuts.
For more detailed work, such as cutting curved lines or trimming small sections, tile nippers are invaluable. These handheld tools let you carefully chip away at the tile, making them perfect for fitting tiles around pipes or awkward corners. Always match your tool to the job: use a manual tile cutter for straight cuts in ceramic tiles, an electric tile cutter for porcelain or thicker tiles, and tile nippers for shaping and curved lines. Having the right tools on hand will make your tile cutting more efficient and help you achieve a professional finish.
Preparing Your Tiles for Cutting
Before you make your first cut, preparation is key. Always wear a pair of protective gloves and safety goggles to protect against sharp splinters and dust. Use a sturdy workbench or flat surface to keep your tiles stable during cutting, ensuring the tile is fixed securely for safety and precision.
Begin by thoroughly cleaning your tiles to remove any dust or debris that could interfere with marking or cutting. Make sure to thoroughly clean the tile before you cut the tile, using a damp cloth to wipe the surface and letting it dry completely before proceeding.
Clearly mark your cutting lines using a pencil or fine marker, making clear marks on the tile, and always use a metal ruler or straight edge for straight, accurate lines. For more complex shapes or curves, consider making a paper template first and lay the tile or template in position before marking to transfer the exact shape onto your tile. When marking for grout joints or tile spacers, remember to leave a gap to ensure proper alignment and finish. This helps avoid mistakes and ensures a perfect fit around bathroom fixtures.
The type of tile you’re cutting, ceramic, porcelain, or natural stone, will determine the best cutting method and tools to use. Ceramic tiles are generally easier to cut with manual tools, while porcelain and natural stone often require more specialised equipment like an electric tile cutter or wet saw.
Finally, double-check your measurements and markings before cutting to avoid costly errors and ensure tiles are cut to the same size. When snapping the tile after scoring, press down firmly to achieve a clean break. Taking the time to prepare properly will make the tile cutting process smoother and result in a more professional finish.
How to Cut Straight Lines in Bathroom Tiles
For most bathroom tiling projects, straight cuts are the most common requirement. Cutting ceramic tiles, which are typically 10 - 15mm thick, can be done using basic hand tools. Start by marking a clear cutting line on the tile to guide your cut.
Using a Tile Scribe: A tile scribe is ideal for creating clean, straight cuts in ceramic tiles. After marking your cutting line, use the scribe to create a scored line along its length. Make sure the scored mark is continuous and even to prevent irregular breaks. Once you have the scored line, position a pencil or rod beneath it and apply firm, controlled pressing downward to split the tile cleanly.
Using a Scorer and Snapper: For larger projects, a tile scorer and snapper machine can save time. This tool features a rail to guide the scoring wheel, ensuring precise cuts. To use, align the tile along the rail, then push the handle forward to score the tile along the cutting line. The built-in support bed helps stabilise the tile for greater accuracy, and the machine allows you to snap the tile cleanly along the scored mark.
How to Cut Tiles to Shape
Bathrooms rarely offer perfect right angles, and fitting tiles around obstacles like pipes, basins, or curved surfaces requires cutting tiles to shape for a seamless finish. When marking and cutting, always ensure you align the cut with the centre of the tile or the obstacle for precise results.
Using Tile Nippers: Tile nippers are perfect for shaping tiles by gradually breaking off small chunks. After marking your cut line, using a square to ensure accuracy and scoring it lightly with a tile scribe or pencil, line up the tile carefully before cutting. If you are using a snapper tool, place the tile in the jaws of the tool, aligning the marked line with the centre, and then squeeze the handles to snap the tile. Use the nippers to carefully chip away small pieces of the tile, working slowly and methodically, especially as you get closer to the marked line, to avoid cracking or damaging the tile beyond the desired shape. This method is especially useful for creating rounded edges or irregular shapes that standard cutters cannot achieve, such as fitting tiles around a pipe. Once the tile is roughly shaped, smooth the edges with a tile file or fine sandpaper to remove sharpness and ensure a clean, safe finish.
Using a Tungsten Carbide Rod: For more precise shaping, especially when working with harder tiles like porcelain, a tungsten carbide rod attached to a hacksaw handle can be very effective. The abrasive surface of the rod gradually grinds through the tile material, allowing you to follow curved or intricate lines with greater control and accuracy. This technique is particularly useful for cutting detailed shapes or small holes that tile nippers might struggle with, such as making cut-outs for pipes. As with nippers, always finish by smoothing the edges with a tile file or fine grit sandpaper to eliminate any roughness or sharp fragments before installation.
Cutting Tiles for a Specific Design
When your tiling project calls for a unique pattern or custom layout, cutting tiles for a specific design becomes essential. This often involves making angled cuts, combining straight and curved lines, or trimming small pieces to fit intricate spaces. Begin by measuring the area precisely and marking the cut line on each tile, using a template or stencil for complex shapes.
For straight or angled cuts, a tile cutter or wet saw will give you the accuracy you need. When working with small pieces or detailed shapes, a tile nipper is ideal for carefully trimming the tile to match your design. Always double-check your measurements and use a laser level if possible to keep your lines and patterns perfectly aligned. By planning your cuts and using the right tools, you can create stunning tile designs that elevate the look of your bathroom.
Cutting Porcelain Tiles: What You Need to Know
Using a Diamond Blade Wet Saw:
Porcelain tiles are usually a lot thicker and denser than ceramic tiles, which makes them more challenging to cut. For this reason, a diamond blade wet saw tile cutter is the ideal tool for the job. This type of saw can handle tiles up to 25mm thick with precision and minimal chipping.
The wet saw operates by using a rotating diamond-tipped blade cooled continuously by water. This water flow is crucial as it prevents the blade from overheating, reduces dust, and helps achieve a clean cut edge. Maintaining a steady and sufficient stream of water during cutting not only prolongs the blade’s life but also improves cutting efficiency.
Before cutting, mark your tile carefully with a fine marker or pencil to ensure accuracy. When using the wet saw, feed the tile slowly and steadily into the blade along the marked line, allowing the saw to do the work without forcing it. This controlled approach helps prevent cracks or breaks.
Porcelain tiles are often used on both bathroom walls and floors, so achieving a clean cut is essential for a professional finish. After cutting, always smooth the edges with a tile file or sanding pad to remove any sharpness or roughness, ensuring safety and a polished look.
If you’re working on a DIY bathroom tiling project, investing in or renting a diamond blade wet saw can save time and improve results when cutting porcelain tiles.
Tips for Achieving a Smooth Finish
Regardless of the method you choose, refining the cut edge is essential for both safety and aesthetics. Use a tile file, fine sandpaper, or a diamond pad to carefully remove any splinters, sharp edges, or rough spots after every cut. This step not only prevents potential injuries during handling and installation but also ensures a polished, professional look that enhances the overall finish of your tiling job.
After filing, wipe the tile clean with a damp cloth to remove any dust or debris before laying it. This helps the adhesive bond more effectively and ensures your grout lines are neat and secure. Taking the time to smooth and clean each tile edge will make a noticeable difference in the durability and appearance of your bathroom tiles, giving your project a truly high-quality finish.
Common Mistakes to Avoid
Avoiding common mistakes when cutting tiles can save you time, money, and frustration. One of the most frequent errors is using the wrong tool for the type of tile or cut, which can lead to chipped edges or uneven lines. Always select the appropriate tile cutter for your material, and read the manufacturer’s instructions before starting. Another common mistake is neglecting safety, always wear protective gloves and safety goggles to protect yourself from sharp edges and flying debris.
Rushing through measurements or failing to mark the cut line accurately can result in tiles that don’t fit properly, wasting both materials and effort. Use a straightedge or template to guide your marking, and measure twice before making any cuts. Applying too much pressure when cutting can also cause tiles to crack or break unpredictably; let the tool do the work and use steady, even pressure. Finally, don’t forget to smooth the edges of each cut tile with a tile file or fine sandpaper to ensure a clean, safe finish. By taking these precautions, you’ll achieve better results and a more professional-looking tiling job.