The Best Guide to Tiling onto Floorboards
Written by: Halima Bapu
Tiling onto floorboards can be tricky due to the movement of wood, which can cause cracks in your tiles. Unlike tiling onto concrete, which provides a stable and flat surface ideal for tile installation, wood floors require extra preparation to achieve similar results. This guide explains how to properly prepare your wooden floor with plywood or tile backer boards to ensure a stable, long-lasting tile installation.
Key Takeaways
- Prepare wooden floors by laying stable substrates like plywood or tile backer boards to prevent cracks in tiles from wood movement.
- Gather essential tools and materials, including tile adhesive and SBR primer, to ensure a professional finish during tiling.
- Plan the tile layout carefully, starting from the room’s centre to achieve symmetrical patterns and avoid awkward cuts and awkward corners.
Understanding the Challenges of Tiling onto Floorboards
Tiling directly onto wooden floors can be a tricky endeavour. The main issue lies in the natural movement of wood, which is flexible, while tiles are rigid and unyielding. Even slight movement in the floorboards can lead to cracks in the tiles, making it essential to use flexible adhesives to accommodate these shifts. This discrepancy can lead to cracks and damage over time if not addressed properly. Imagine the frustration of laying a beautiful floor only to see it deteriorate in a few months. The key to avoiding this pitfall is thorough preparation.
Instead of attempting to lay tiles directly onto floorboards, the best practice is to create a stable substrate. This can be achieved by laying plywood or tile backer board over the top of the wooden floorboards. This step is crucial as it provides a solid, even surface that minimises movement and ensures that your tiles stay intact.
Proper preparation work is the foundation of successfully laying tiles on wooden floors, setting you up for a durable and aesthetically pleasing finish. Correct installation, including careful preparation and choosing the right materials, is essential to prevent future problems.
Essential Tools and Materials
Embarking on a tiling project requires the right tools and materials. Without them, achieving a professional finish is nearly impossible. From the electric mixing tool to the essential tile backer board, each item plays a crucial role in the process. When using adhesive, it is recommended to use quick grip adhesive for securing boards quickly and efficiently.
Thorough preparation and having all necessary items at hand will not only make the job smoother but also ensure that you don’t have to lay prepare unexpected trips to most diy stores while working on a diy project. All boards and materials should be fixed firmly in place to prevent movement during tiling.
Tool Checklist
Before you begin, ensure you have all the essential tools:
- An electric cordless screwdriver, invaluable for securing backer boards
- A mixing bucket and notched trowel, crucial for preparing and applying tile adhesive; the notched edge of the trowel creates grooves in the adhesive, improving tile adhesion and ensuring a consistent layer
- A rubber float, to help you finish and grout the tiled surfaces, ensuring a smooth, professional finish.
For cutting tiles to fit around edges and corners, you’ll need:
- A tile cutter, which can be electric or manual
- Angle grinders
- Tile scribes
- Tile nippers
Having these tools at your disposal will make the process far more efficient and less stressful.
Material Checklist
In addition to tools, gathering the right materials is essential:
- Plywood or tile backer boards should be laid over the floor to create a stable base for your tiles. Make sure to place the boards with the boarding adhesive side facing down onto the prepared surface.
- Ensure that the plywood is at least 12mm thick to provide a rigid surface that can support the tiles.
- Waterproof backer boards are particularly useful in areas prone to moisture, such as bathrooms and wet rooms.
Don’t forget the adhesive essentials: a mixing bucket, cold water, and an electric mixing tool are required to prepare the tile adhesive. Applying a diluted SBR primer will enhance adhesion and ensure that the tiles stick firmly to the surface. With these materials ready, you’re well on your way to a successful tiling project.
Preparing Your Wooden Floor
Preparing your wooden floor is of utmost importance. A clean, secure, and level surface is crucial for the adhesion and longevity of your floor tiles. Begin by ensuring that the wooden floor is thoroughly cleaned and free from any debris or dust that might interfere with the adhesive. Next, you need to address any loose floorboards, as these can cause the tiles to shift and crack over time. When securing loose floorboards, locate and screw into existing nails to avoid damaging hidden pipes or wires beneath the floor.
Plywood or backer boards laid over the floorboards will provide a flat surface necessary for tiling. Secure these boards with screws and adhesive to prevent any movement. For maximum stability, make sure the screws are fixed into the joists that run perpendicular to the floorboards. This preparation work is the cornerstone of a successful tiling project and will save you from potential headaches down the road.
Securing Loose Floorboards
Loose floorboards are a common issue in older homes and must be dealt with before tiling. Here’s how to address them:
- Walk around the room, listen for creaks, and mark any areas where the floorboards move.
- Once identified, secure these loose boards by screwing them into the joists below using short countersunk screws. Drill pilot holes before inserting the screws to prevent splitting the wood.
- Be cautious of hidden pipes and wires while securing the floorboards.
Another method to check the rigidity of your floor is to place a glass of water on the floor and jump nearby. If the water spills, the floor is too bouncy for tiling. Addressing these issues will ensure that your tiles have a stable base and won’t crack due to movement.
Installing Backer Boards
Once the loose floorboards are secured, the next step is to install backer boards. These boards are crucial as they minimise movement and provide a stable surface for the tiles. Start by laying the first board in a corner and work your way out, securing each board with screws and adhesive to ensure they are firmly in place.
For best results, work in sections of about a square metre at a time to ensure even coverage and proper alignment of the boards.
Using a minimum thickness of 12mm for plywood will provide the necessary rigidity for the tiles. Waterproof backer boards are a great option for areas exposed to moisture, like bathrooms and kitchens, as they add an extra layer of protection.
Priming the Surface
Priming the surface is a vital step that should not be overlooked. Applying a diluted SBR primer enhances the adhesion, flexibility, and waterproofing of the surface. When preparing the primer or adhesive, mix it into a smooth paste to ensure even application. Use a rubber float to spread the primer evenly and ensure that it covers the entire surface.
Allow the primer to dry completely before you begin tiling. This will provide a smooth and rigid surface, ensuring that the tiles adhere properly and remain in place for years to come.
Planning Your Tile Layout
Planning your tile layout is the next critical step. Pre-planning helps avoid awkward cuts or small tiles next to the wall, ensuring a professional finish. During the planning stage, make sure to arrange all the tiles to achieve a consistent pattern and edge finish. The recommended starting point for floor tiling is the center of the room, as this allows for symmetrical tile placement and a balanced tile pattern, making it the ideal location for the first tile.
This step is essential for achieving a neat and aesthetically pleasing result. Remember to plan the layout for the whole floor to avoid surprises during installation.
Finding the Centre Point
To find the central point of the room and start laying tiles:
- Measure both the length and width of the room.
- Mark the midpoint of each wall.
- Snap two chalk lines across the room so that the lines cross at the centre; this is the central point.
- Use this intersection as your starting point for laying the tiles.
Measuring the room will also help you calculate how many square metres of tiles you need.
Using consistent measurements ensures that tiles are evenly spaced and aligned throughout the room.
Lay a few tiles along these two lines to see how they will fit. This step will help you visualize the final layout and make any necessary adjustments before applying the adhesive.
Dry Run Design
A dry run design involves:
- Laying out the tiles without adhesive to visualize the final installation. During this step, measure the area in square metres to confirm you have enough tiles for the project.
- Seeing how the tiles will look and identifying any potential issues with the layout.
- Making adjustments to ensure that the tiles are placed symmetrically.
This step is an excellent opportunity to ensure the final installation meets your expectations.
Once you are satisfied with the layout, mark the tiles’ positions. This pre-planning ensures that when you begin tiling, you can follow the design without any surprises.
Laying Your Tiles
When choosing tiles, ensure they are designed to withstand heavy footfall, especially in high-traffic areas.
With the layout planned, it’s time to start laying your tiles. Follow these steps:
- Apply a flexible tile adhesive to accommodate the movement of the wooden floor.
- Spread the adhesive evenly over the prepared surface using a notched trowel.
- Ensure that the adhesive is applied in an even layer.
Lay the tiles on the adhesive, applying even pressure to ensure they stick firmly. Use plastic tile spacers to maintain consistent gaps between the tiles, ensuring a professional finish with uniform grout lines.
Applying Tile Adhesive
Tile adhesive is crucial for securing the tiles to the floor surface. Use a notched trowel to apply the adhesive at a 45-degree angle, creating ridges that ensure even distribution and reduce air pockets. This technique helps achieve a strong bond for long-lasting floor tile installation.
For better adhesion, consider back-buttering the tiles by applying adhesive to the back of each tile before you apply adhesive it on the floor. This step ensures that the tiles are firmly adhered and less likely to shift or come loose over time.
Placing and Spacing Tiles
Once the adhesive is applied, follow these steps to place the tiles:
- Begin placing the tiles using a twisting motion to ensure they are pressed down properly.
- Carefully press each tile into the adhesive, ensuring they are level and straight.
- Use a spirit level to check that the tiles are aligned correctly and adjust as needed. Maintaining consistent tile joints is essential for a uniform grout line and a professional finish.
Plastic tile spacers are essential for maintaining uniform gaps between the tiles. The recommended space between floor tiles is 3mm to 5mm, which allows for consistent grout lines and a professional finish.

Grouting and Sealing
With the tiles in place, the next step is to apply grout to the gaps between them. Proper grouting ensures that the tiled areas are sealed and resistant to water.
After grouting, wait at least 24 hours before walking on the newly tiled floor to allow the grout to set.
Grouting the Tiles
The process of grouting tiles involves using a rubber float to apply grout into the joints, then wiping off the excess with a damp sponge. Apply the grout in a diagonal motion to ensure that it fills the joints thoroughly. For smaller areas, a grout squeegee can be effective, while a grout float is better for larger spaces.
Once the grout is applied, use a damp sponge to gently wipe away any excess, ensuring a clean finish. Allow the grout to cure completely before moving on to the next step.
Sealing Edges
Sealing the edges of your tiled floor is crucial for preventing moisture ingress and ensuring a neat finish. Silicone sealant is used to fill gaps around the floor edges, providing a waterproof barrier that allows the tiles to flex without cracking. Apply the sealant using a caulking gun for a precise and even coat.
For the best finish, it’s recommended to remove the skirting board before tiling and then reattach it once the tiling is complete. This step ensures that the sealant is applied neatly and provides excellent rigidity to the tiled surface.
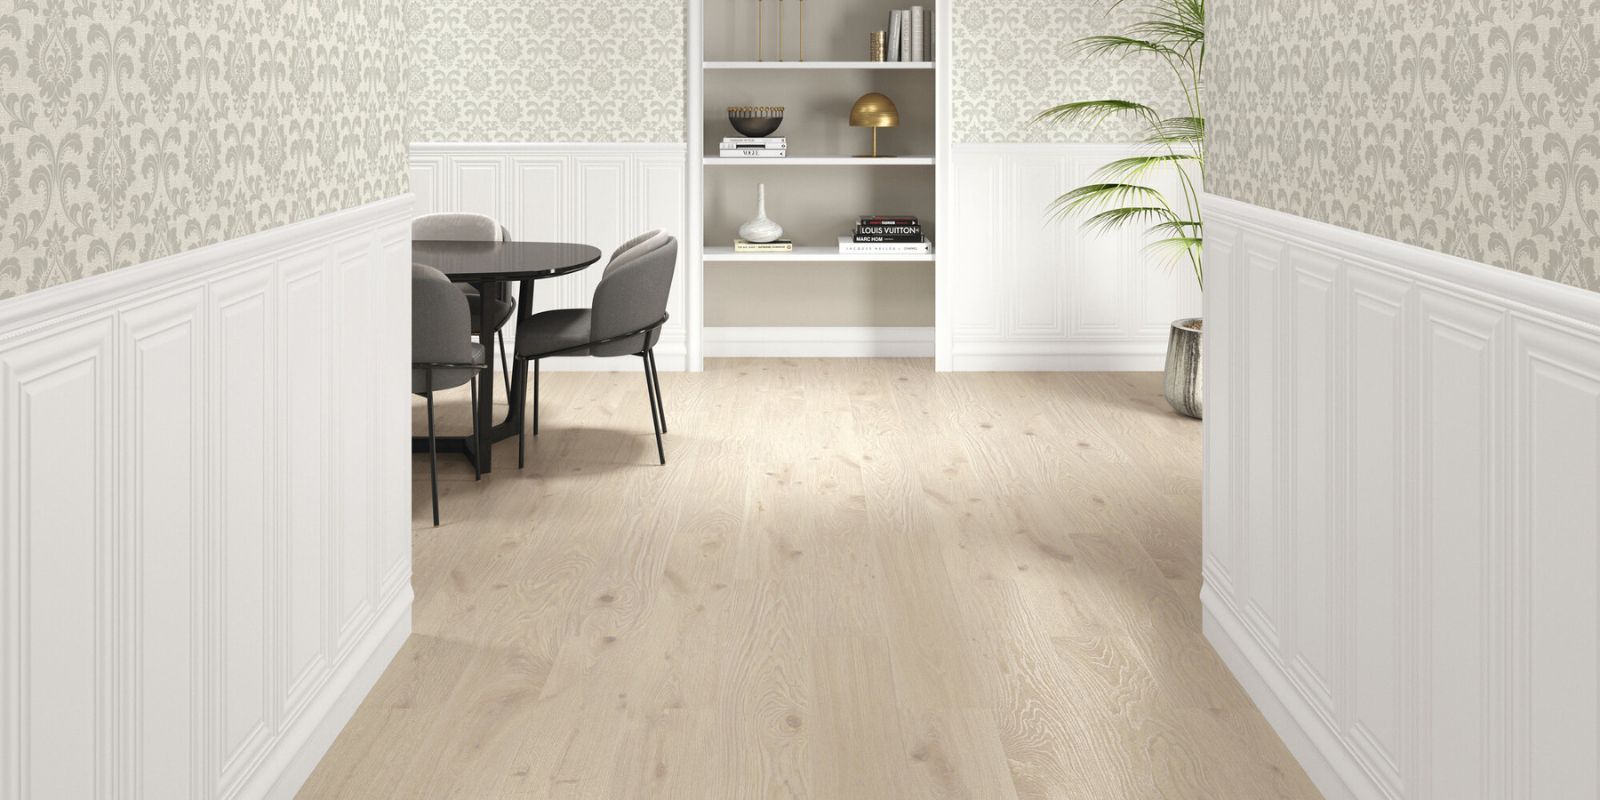
Wood Effect Tile Designs
Wood effect tiles are a fantastic choice for those who love the look of wooden floors but want the durability and low maintenance of wooden flooring. These tiles offer several benefits:
- Designed to resist fading and discoloration over time
- Perfect for high footfall areas and can withstand heavy footfall in busy living spaces, as well as moisture-prone spaces like bathrooms and kitchens
- Provide a natural grip underfoot, making them a safe option for homes with children or pets
The variety of styles, textures, colors, and shapes available in wood effect tiles means you can find the perfect match for any interior. Collections like:
- Alberta Parquet
- Sibillini Antibacterial
- Sequoia
- Finlay offer unique designs and functionality, allowing you to create a stunning and practical floor.
Summary
Tiling onto floorboards may seem daunting, but with the right preparation and tools, it can be a rewarding project. From understanding the challenges of tiling onto wood to securing loose floorboards, installing backer boards, and priming the surface, each step is crucial for a successful installation.
Planning your tile layout, applying adhesive, placing and spacing tiles, and finally grouting and sealing the edges ensure a professional finish that will last for years. Wood effect tiles offer a beautiful and practical solution for any home, combining the best of both worlds. They are an excellent choice for living rooms, providing durability and style in one of the most used and visually important spaces. Ready to transform your floors? Start your project today and enjoy the stunning results!