The Best Guide on How to Repair and Replace a Cracked Tile
Written by: Halima Bapu
Understanding Tile Damage and Why Prompt Repair Matters
Cracked tiles aren’t just an eyesore, they can actually lead to bigger problems if left unchecked. Even small cracks can weaken the tiles around them, letting moisture sneak underneath and speeding up damage. This moisture can encourage mold growth, weaken the glue holding your tiles in place, and harm the surface beneath. Catching these issues early is key to avoiding more trouble down the line. Whether the tiles are on your floor or walls, knowing why they crack helps you pick the best way to fix them.
Tiles can crack for many reasons, movement in the structure, accidental bumps, less-than-perfect installation, or just wear and tear over time. Often, the root cause lies in how they were originally put down. How you repair them depends on how bad the damage is: tiny hairline cracks caused by settling can often be patched up with fillers, but bigger breaks usually mean you’ll need to replace the tile entirely. You might see hairline cracks, chips, or full breaks, and each one calls for a slightly different fix.
With the right tools, materials like epoxy fillers and matching grout, and a bit of care, many cracked tiles can be repaired or replaced to look good as new and stay strong. Fixing tiles promptly also keeps your home safe by smoothing out sharp edges and preventing water damage, which is especially important in busy spots like kitchens and bathrooms. Taking care of repairs early not only prolongs the life of your tiles but also helps you avoid costly renovations later on.
Assessing the Damage Before You Begin
Identifying the Type of Crack
Not every crack means you have to replace the tile. Hairline cracks, those tiny, barely-there lines, usually affect only the surface and don’t weaken the tile itself. Choosing the right repair method depends on the crack’s size and type. These small cracks or chips can often be fixed nicely with special fillers or epoxy resin, making your tile look great again and keeping dirt and moisture out. This kind of repair works best when the tile is still firmly stuck to the floor or wall. But if the crack runs deep or the tile is shattered, that’s a sign the tile’s structure is compromised, and you’ll want to remove and replace it to keep things safe and sturdy.
Checking the Surrounding Area
It’s a good idea to take a close look at the tiles and grout around the damaged one. Cracks can sometimes hint at bigger issues, like movement under the floor, weak glue, or water getting in. If the grout nearby is cracked or missing, water might be sneaking underneath, loosening tiles or causing more cracks. Damage can spread too, so if other tiles nearby are also showing signs of wear, you might need to fix or replace a whole section, not just one tile. A careful inspection helps you figure out whether it’s a small, isolated problem or something that needs a bigger fix.
Understanding the Tile and Its Environment
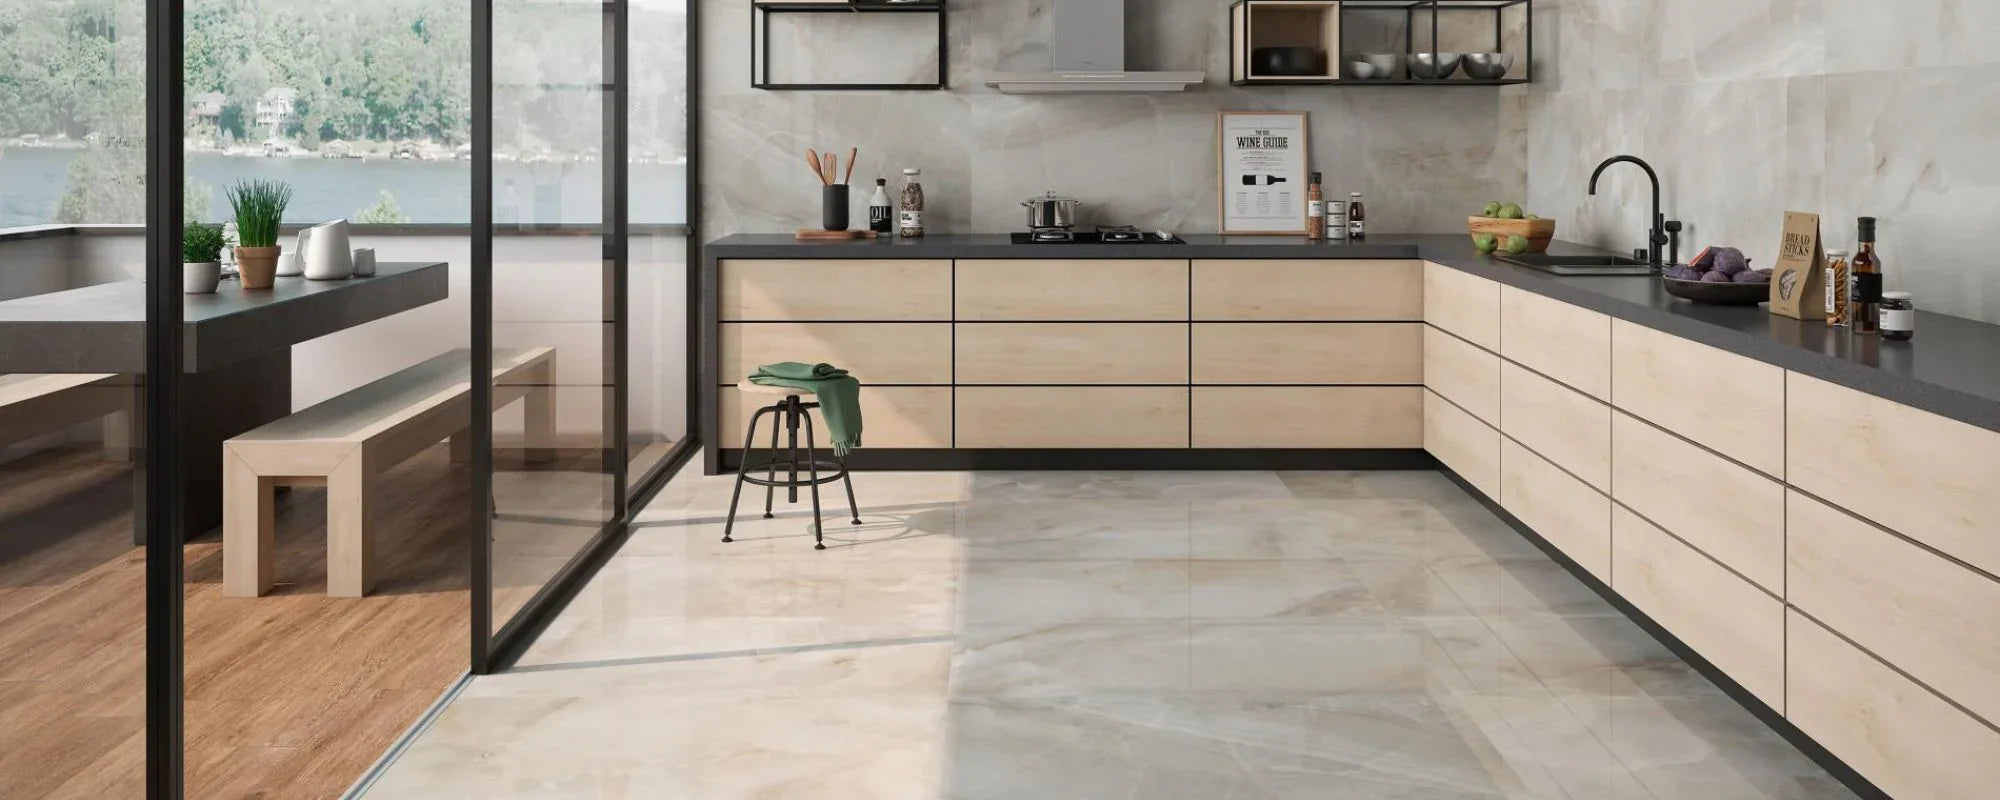
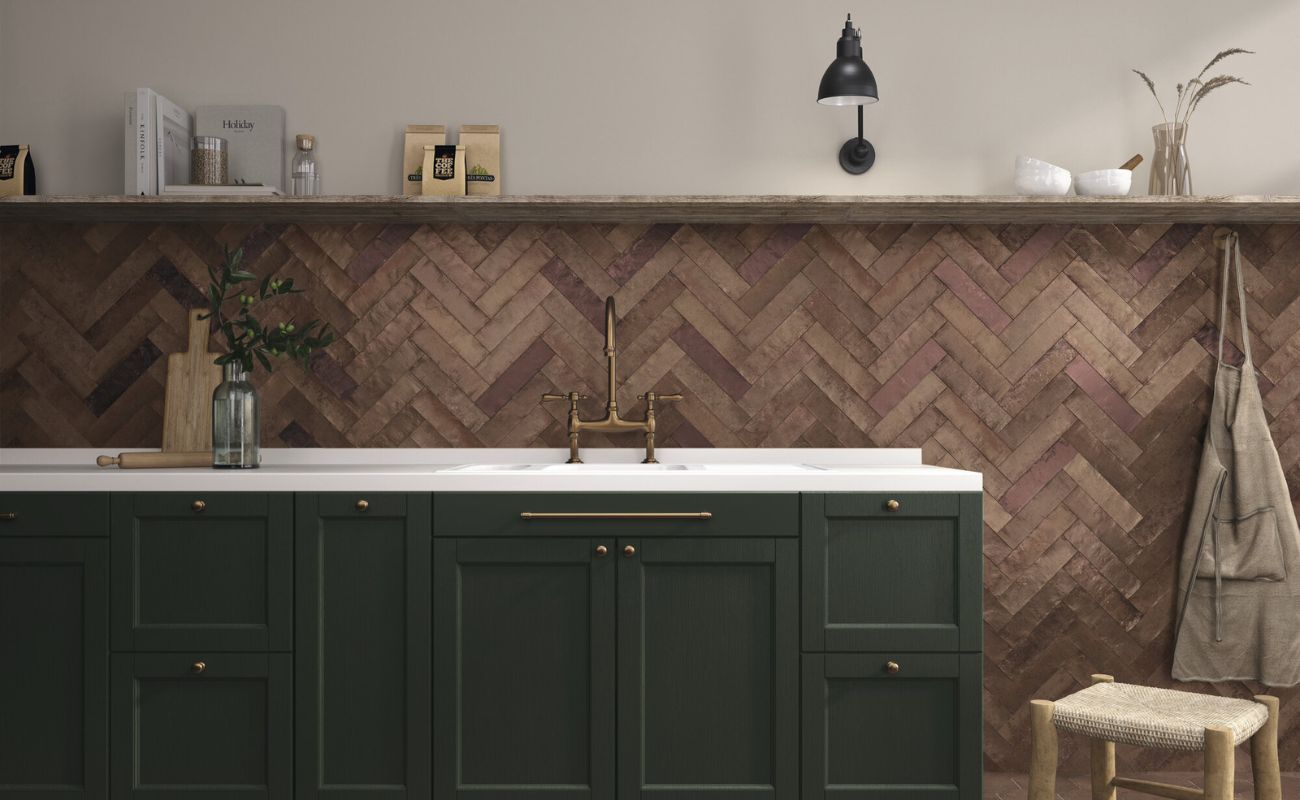
Knowing what kind of tile you have, how old it is, and where it’s installed can make a big difference in how you approach repairs. Porcelain tiles are tough and dense, so they usually handle bumps better than ceramic ones, but they’re not invincible. It’s important that tiles have enough space to expand and move a little, if they’re packed too tightly, cracks can develop over time. Wall tiles usually take less beating than floor tiles, so cracks there might be more about looks, while cracked floor tiles can be a safety risk because people walk on them. When picking floor tiles, think about the weight they’ll need to support, heavy appliances like fridges can stress tiles that aren’t designed for it. Tiles in wet areas like kitchens or bathrooms need waterproof glue and sealants to keep water out. Older tiles can be brittle and tricky to match if you need replacements, so fixing them when you can is a smart move.
Common Causes of Cracked Tiles
Structural Movement and Subfloor Issues
One of the biggest reasons tiles crack is because the surface underneath isn’t stable. Concrete, wood, and other materials can shift, settle, or expand and contract with changes in temperature and humidity. Since tiles are hard and don’t flex much, any movement underneath creates pressure points that cause cracks. This is especially true if there aren’t proper movement joints or flexible layers underneath. Making sure the subfloor is solid before you fix tiles helps stop cracks from coming back.
Impact and Load Stress
Tiles can crack suddenly if something heavy falls on them, like a pot or tool. Also, heavy furniture or appliances sitting directly on tiles without support can cause cracks over time. Tiles that aren’t made for heavy loads or weren’t installed properly are more likely to break. Knowing how much weight and activity your tiles have to handle helps you decide if you should repair or replace them with something tougher. In places with lots of weight or traffic, choosing more durable tiles is often the best way to avoid future problems.
Installation and Material Factors
Sometimes, tiles crack because they weren’t put in right. If the glue underneath isn’t spread evenly, it leaves gaps that make tiles weak and easy to crack. Not leaving enough space for tiles to expand means they press against each other as the floor moves, causing cracks. Using the wrong kind of tiles for the environment, like indoor tiles outside can also speed up damage. Picking the right materials and following best installation practices helps keep tiles strong and looking good for longer.
Preparing the Area for Repair
Cleaning and Surface Preparation
Good repairs start with a clean surface. Dirt, dust, grease, old grout, and leftover glue need to be removed so new repair materials stick properly. Use the right cleaning products and let everything dry completely before you start. If you’re replacing a tile, a wet saw can help cut it to the right size while keeping dust down and the blade cool. This step is especially important when working with epoxy or adhesives.
Protecting Surrounding Tiles
When you’re fixing or removing tiles, it’s easy to accidentally damage the ones nearby. Putting painter’s tape or masking tape around the edges of surrounding tiles helps protect them from scratches and chips. In busy or tight spaces, you might also want to add cushions or barriers to keep things safe. Taking these precautions saves you extra work later on.
Assembling the Correct Tools and Materials
Having the right tools and materials makes the job smoother. You’ll want safety goggles and gloves to protect yourself, plus cold chisels or utility knives for removing tiles. For repairs, epoxy resin or tile filler works well for cracks, and tile adhesive and grout are needed when replacing tiles. Fine-grit sandpaper and small brushes help with finishing touches. Choosing high-quality products that match your tile and environment means your repairs will last longer and look better. Always follow the manufacturer’s instructions for curing times to get the best results.
Removing and Replacing a Damaged Tile
Safe Tile Removal Techniques
Taking out a damaged tile requires care to avoid hurting the tiles around it. Start by scoring the grout lines around the broken tile with a grout removal tool or utility knife to separate it. Then, drill a few small holes in the center of the cracked tile to weaken it. Use a cold chisel and hammer to gently break the tile into pieces, starting from the center and working outward. This method helps prevent damage to your surrounding tiles and keeps the rest of your floor or wall intact.
Preparing the Substrate
After removing the tile, clean the surface thoroughly by scraping away all old glue, grout, and debris to make a smooth, stable base. Vacuum and wipe the area with a damp cloth to get rid of dust and ensure the new tile sticks well. Check the surface for cracks or uneven spots and fix those before moving on to avoid future problems.
Installing the Replacement Tile
For bigger cracks, you’ll usually need to replace the whole tile with a spare that matches in size, color, and design. Spread a fresh layer of adhesive evenly on the back of the new tile using a notched trowel. Press the tile firmly into place, making sure it sits level with the surrounding tiles. Hold it gently for a moment to help it bond. Use tile spacers to keep the grout lines even and straight. Let the adhesive dry fully before grouting.
Once the adhesive is set, apply grout to the joints with a rubber float held at a 45-degree angle. Matching the grout color to your tiles helps everything blend smoothly. Proper installation like this keeps your repair looking great and standing up to daily use.
Repairing Minor Cracks with Epoxy Resin
When Epoxy Repair Is Appropriate
Epoxy resin is perfect for fixing hairline cracks or small chips when the tile is still firmly attached and strong. It seals cracks well, stopping moisture from getting in and making the surface look continuous again. This is a budget-friendly alternative to replacing tiles when damage is mostly cosmetic.
Application and Finishing
Make sure the cracked area is clean and dry before applying mixed epoxy resin with a small brush or putty knife. Fill the crack completely and smooth the surface so it blends with the rest of the tile. If needed, use painter’s tape to protect nearby tiles. Let the epoxy cure according to the instructions. Once dry, gently sand the area with fine-grit sandpaper to get a polished finish that matches your tile. If needed, reapply grout and wipe away any excess grout with a damp sponge right away. Sealing the area afterward helps make the repair last.
Grouting and Sealing for Longevity
Correct Grout Application
After repairing or replacing tiles, push new grout firmly into the joints using a grout float at a 45-degree angle. Remove any extra grout quickly with a damp sponge to keep tile surfaces clean. Good grouting protects the floor or wall from moisture and keeps tiles stable, reducing the chance of cracks coming back.
Sealing for Protection
Applying grout sealer once the grout is dry helps guard against water, stains, and mold. This is especially important in wet areas like kitchens and bathrooms. Follow the sealer’s instructions for best results to extend the life of your grout and tiles.
Understanding and Working with Control Joints
Why Control Joints Matter
Control and movement joints are small gaps filled with flexible materials that let tiled surfaces expand and contract with temperature changes or building movement. Without these joints, rigid tiles can crack under stress. Properly installed control joints absorb this movement and help your tiles stay intact longer.
Proper Installation and Maintenance
Control joints should be spaced according to industry guidelines and sealed with flexible caulk or sealant. Regularly checking these joints to make sure they’re still flexible and sealed helps prevent water damage and tile cracking. Keeping control joints in good shape is a smart way to avoid future repairs.
Preventing Future Cracks, Especially in Kitchens
Managing Moisture and Traffic
Kitchens face lots of challenges, temperature swings, spills, and heavy foot traffic all take a toll on tiles. Regular cleaning, sealing grout lines, and quickly wiping up spills help keep moisture at bay. Using rugs or mats in busy spots can protect tiles from wear and accidental drops.
Addressing Root Causes Early
Spotting and fixing problems like unstable subfloors, poor installation, or missing movement joints early on can stop cracks from coming back. Regular inspections and maintenance mean you can catch small issues before they turn into costly repairs.
DIY Repair vs Professional Tile Repair
When DIY Is Suitable
If you have some handy skills and the right tools, you can handle minor cracks, small chips, and even replacing a single tile yourself. Following clear, easy-to-follow steps and taking safety precautions will help you get great results and save money.
When to Call a Professional
If you’re dealing with widespread cracking, multiple damaged tiles, structural problems, or recurring issues, it’s best to get a pro involved. Experts can pinpoint the root cause, handle tricky repairs, and make sure everything meets standards, giving you peace of mind and a lasting fix.
Troubleshooting Common Tile Repair Issues
Uneven Tiles or Grout Lines
Sometimes, new tiles or grout lines don’t line up perfectly. Using levels, tile spacers, and careful glue application helps keep everything even. Fixing these problems quickly stops bigger issues down the road.
Adhesive and Grout Problems
Mixing grout or adhesive the wrong way, rushing drying times, or applying them incorrectly can weaken your repair. Following the manufacturer’s directions for mixing, applying, and drying is key to a strong, durable repair.
Safety Considerations During Tile Repair
Personal Protective Equipment
Always wear safety goggles to shield your eyes from flying bits, gloves to protect your skin from chemicals, and a dust mask if you’re cutting or sanding tiles. Proper gear keeps you safe and comfortable.
Working Safely in the Space
Make sure your work area is well-ventilated to clear out any fumes from adhesives or sealants. Keep your space tidy to avoid trips and accidents. Following safety guidelines and product instructions helps make your repair smooth and safe.
Final Thoughts on Repairing and Replacing Cracked Tiles
Fixing cracked tiles is a practical, cost-effective way to keep your floors and walls looking great and working well. With careful inspection, good prep, and the right materials, many repairs are well within reach for homeowners or professionals. For stubborn or widespread problems, expert advice can ensure your tiles stay beautiful and safe for years. At Roccia, we’re here to provide quality products and helpful guidance to keep your tiles in top shape.
For more inspiration and tips on tile projects, check out our blog on how to tile a bathroom floor and how to prepare your subfloor for tile installation.
Got Questions? We've Got Answers.
How can I tell if a cracked tile needs to be repaired or replaced?
How can I tell if a cracked tile needs to be repaired or replaced?
If the crack is small, like a hairline crack or tiny chip, and the tile is still firmly attached, repairing with epoxy filler or tile repair adhesive usually does the trick. But if the tile is shattered, loose, or the crack affects its strength, replacing it is the safer choice.
How long does it take for the epoxy or adhesive to dry?
How long does it take for the epoxy or adhesive to dry?
Drying times vary by product but generally range from a few hours to 24 hours. Always follow the manufacturer’s instructions to ensure the repair cures fully before using the area.
Can I paint a repaired tile to match the original color?
Can I paint a repaired tile to match the original color?
Absolutely. After filling chips or cracks with epoxy or filler, you can use matching paint to blend repairs seamlessly. Using a small brush and feathering the edges helps the repair disappear.
How do I protect surrounding tiles during repair or replacement?
How do I protect surrounding tiles during repair or replacement?
Apply painter’s tape or masking materials around nearby tiles to guard against scratches and chips. In tight or busy spaces, adding cushions or barriers offers extra protection.
Apply painter’s tape or masking materials around nearby tiles to guard against scratches and chips. In tight or busy spaces, adding cushions or barriers offers extra protection.
Apply painter’s tape or masking materials around nearby tiles to guard against scratches and chips. In tight or busy spaces, adding cushions or barriers offers extra protection.
If the damage is extensive, affects multiple tiles, or stems from structural issues, calling in a professional is wise. They can diagnose causes, perform complex repairs, and ensure your tiled surfaces stay safe and beautiful.