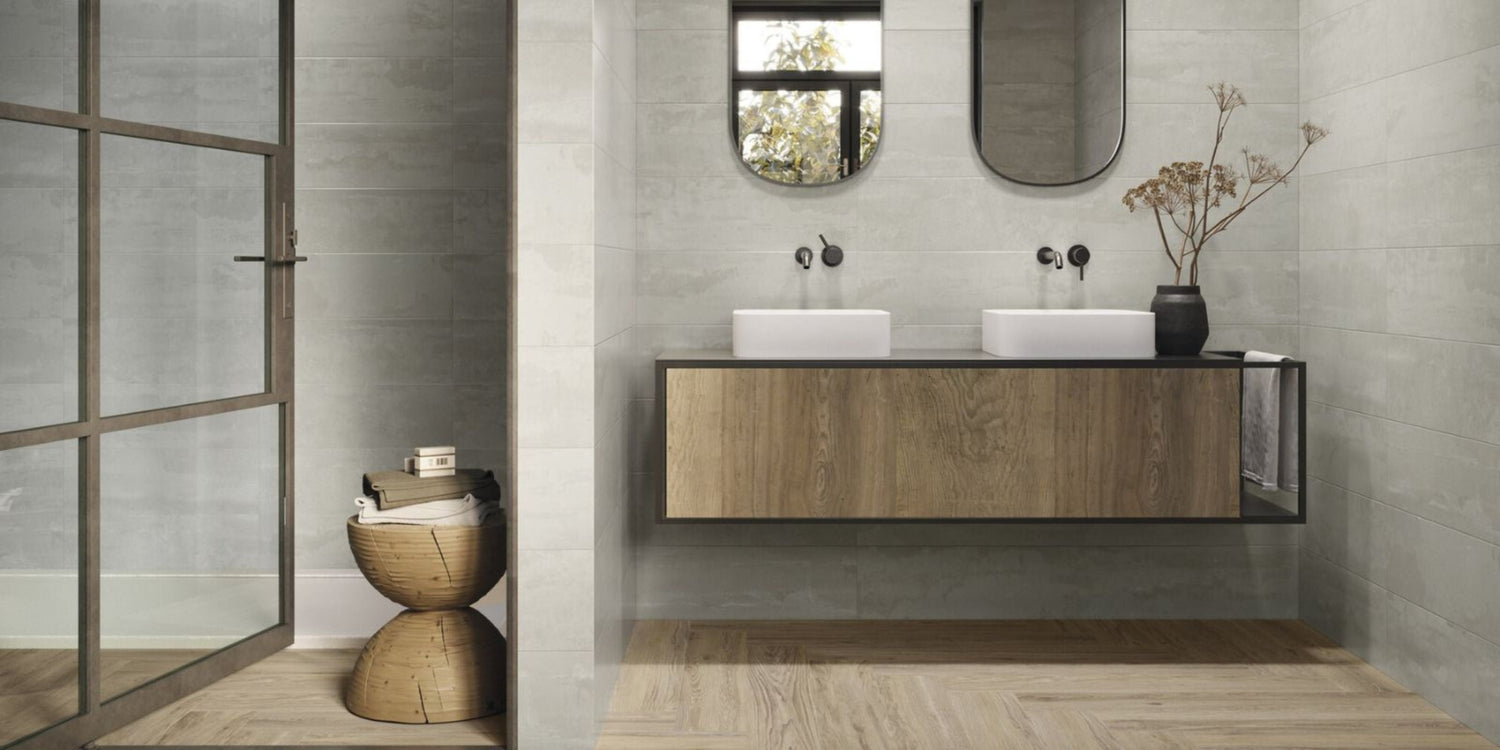
Here at Tile Mart, we offer a great selection of both wall and floor tiles, helping you to create the perfect look in your kitchen or bathroom. However, you could get the most beautiful tiles in the world and still end up with an ugly room if your tiles aren’t laid properly. You can always get in a professional tiler to do the job, but if you prefer to get hands-on yourself, here is some guidance on how to lay your tiles right.
Prepare your surface
As with any decorative finish, a lot relies on the surface beneath, even if it won’t be seen. The surface needs to be dry and level, and strong enough to hold the tiles. For floors, a concrete floor is ideal, but if you have a timber floor you may need to strengthen it first. With walls, make sure you’ve removed wall dressings like light switch covers, make sure that it’s structurally sound and, if you’re tiling a large area, consider installing tiling board as backing for the tiles. It’s a good idea to make sure that any pets or small children are removed from the area while you work!
Measure, measure and measure again!
Once you start laying your tiles, you won’t have many opportunities to adjust so it is very important that you get it right first time. Measure the area that you’re going to tile both horizontally and vertically and mark the centre point with chalk. Measure it again to check! Don’t assume that your walls are perfectly square and don’t assume that any fittings such as baths and sinks are level – they often won’t be. Use a spirit level to check. The third way to measure is to actually lay your tiles out – with no adhesive but with tile spacers in place – to make sure that it looks right. You may find that they don’t look straight if your room is an odd shape, in which case you’ll need to re-measure and work out where the visual centre point of your area actually is. You will generally need to cut some tiles to fit around the edges – again, measure twice, cut once!
Start from the middle
Starting from the point you’ve marked in the middle, you can now actually lay your tiles. Spread the adhesive carefully, working in small areas, then use the notched edge to rake across the adhesive to make a ribbed pattern. Don’t put too much adhesive out, because it will dry up fairly quickly; an area that you can tile in about ten to fifteen minutes is about right. Use tile spacers to make sure that the space between the tiles – where the grout will go – is even throughout. Opinions differ on whether you should take the spacers out or leave them in – if you want to leave them in, make sure that they are placed well below the level of the tile so that they won’t be seen beneath the grout, and if you want to take them out consider putting them vertically so that you can pull them out easily.
Set your tile down straight on the adhesive, and use the spirit level to check that it’s even. The first tile sets the standard for the rest; as you lay each consecutive tile, check that it’s level with the one before, and use the spirit level to make sure that it’s not wonky. If it isn’t even, take it out straight away and adjust the amount of adhesive underneath so that it will lay straight.
With wall tiles, you can set a tile batten in place first – a piece of wood screwed horizontally to the wall along the mid-point so that you have an edge to lay the first tiles against.
Don’t rush the grouting
It’s important not to rush into grouting; the adhesive needs time to dry properly. Leave it overnight, or for a day, before you grout. If you have tile spacers that need to come out, they need to be removed before you grout – so long as they’re standing above the tiles you should be able to grab them with needlenose pliers and pull them straight out.
Grout can dry out fairly quickly, so you’ll generally want to mix it in small batches, enough to work for about twenty minutes at a time. Wipe the tiles with a very slightly damp sponge first to make sure that there’s no dust, and work the grout into the spaces, holding your grout spreader at an angle of about 45 degrees. When it starts to set, you can push it and smooth it into the joints with a wooden towel. Keep a damp sponge with you to clean the excess off as you go.
Once it’s grouted, all you need to do is wipe it clean, dry it off, and seal around the edges with a matching sealant.
Ta-dah!
Here at Tile Mart, we provide everything you need to create a perfect tiled floor or wall – from polished ceramic tiles to stunning natural stone, plus a range of grouts and adhesives. For more information, contact us on 01772 550900 or visit one of our showrooms.